Tag Archives: baking

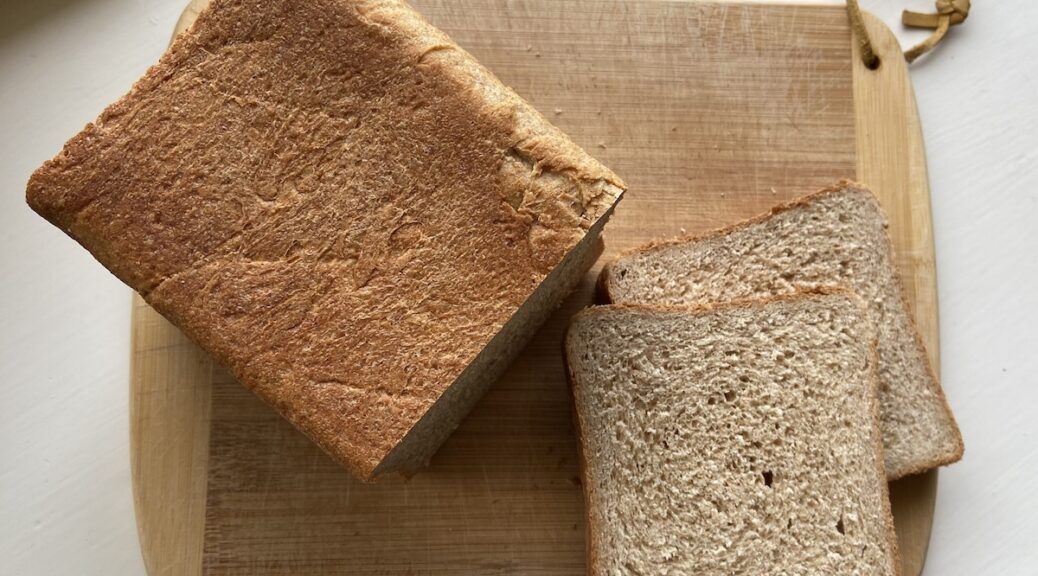
Honey Whole Wheat Pain de Mie

Pain de Mie is a French bread baked in a loaf pan with a lid, which results in a rectangular loaf. It's traditionally made with white flour, but I was intrigued by the idea of a version with at least some whole wheat in it.

This bread comes together quite quickly by homemade bread standards, and it's incredibly versatile. It's great still warm from the oven with butter or toasted with peanut butter on top. I've enjoyed it equally well with hummus and with egg salad, and it also formed the base of some mighty fine avocado toast when I found myself with a spare avocado half last week. It would probably also taste good with some sort of meat, if you're into that kind of thing.

What follows is my modified version of a recipe* that will fit a 16" Pullman pan. The original recipe is for a 13" pan, so I increased everything accordingly. (A 13" pan holds 14 cups, and my pan holds 16 cups.)

Equipment notes: You need the special pan to get the right shape, but you do not need a mixer. I much prefer measuring with a scale, as I find it's faster and more accurate.

Ingredients
2 1/4 cups whole milk
5 tablespoons (90 grams) honey
3 1/2 tablespoons (1 3/4 ounces) unsalted butter, softened
3 1/2 teaspoons salt
3 cups (18 ounces) whole wheat flour
[note: I think this is a touch too much and plan to go down to 17 ounces the next time I make this]
3 cups (14 1/2 ounces) bread flour**
3 1/2 teaspoons (11.5 grams) active dry yeast
cooking spray

Directions
Heat the milk slightly to 105° F). Pour into a large bowl and add the honey and yeast. Let stand for about 5 minutes until the yeast bubbles.

Add the softened butter, salt, whole wheat flour, and bread flour. Mix until combined; they dough will look somewhat shaggy at this stage. Cover the bowl with a towel and let stand for 15 minutes.

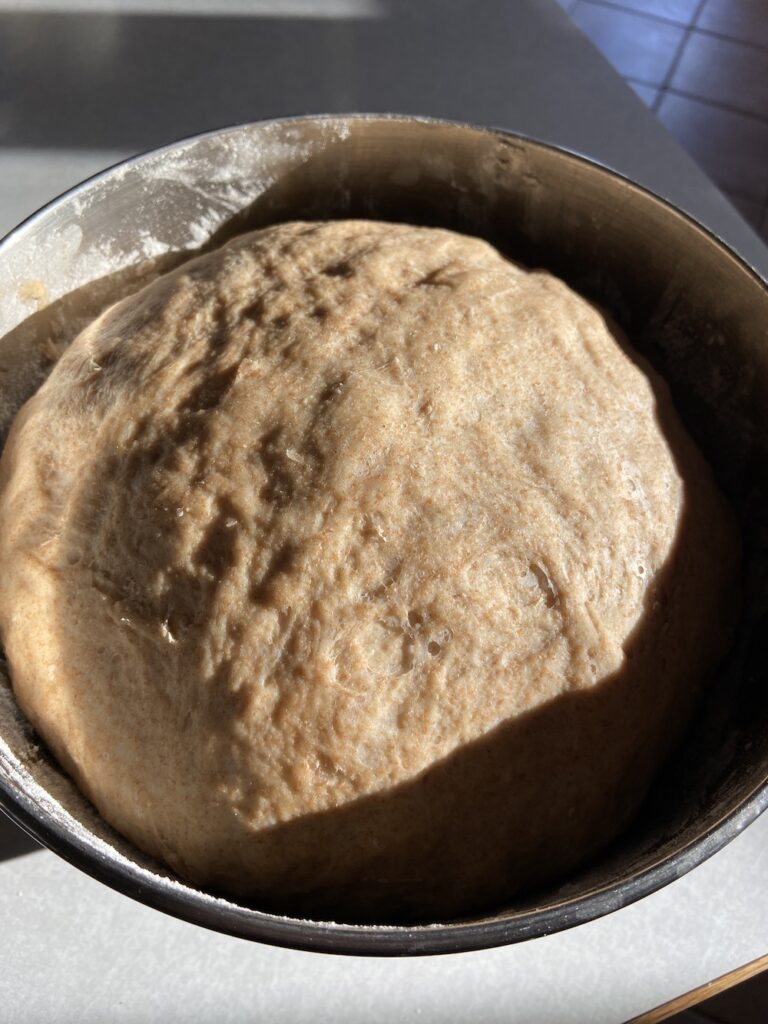
Dump the dough onto the countertop and knead vigorously by hand until the dough is smooth and springy, about 10 minutes. Return the dough to the bowl, cover again with a towel, and let stand until doubled in volume (approximately 1 hour).
null
It has risen, indeed.

When dough has risen, spray the inside of your loaf pan with cooking spray to prevent sticking.

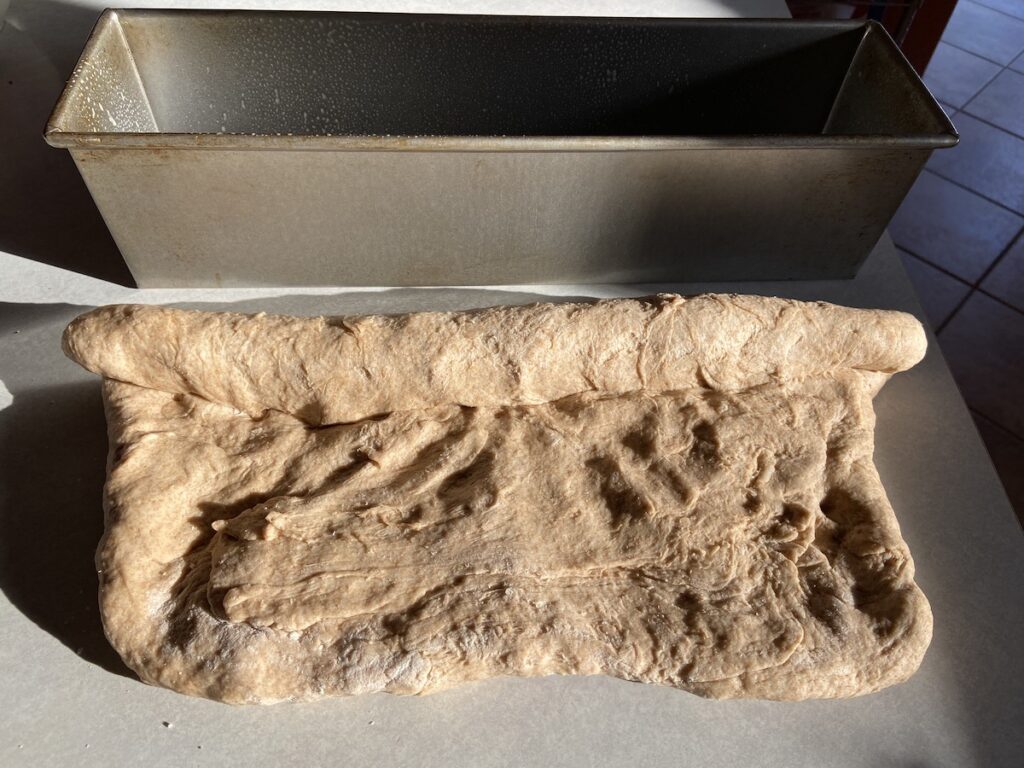
Turn the dough onto a countertop (I find I don't need to flour the countertop, but if your dough seems sticky, by all means put down a little flour). Gently flatten the dough and press it into a rectangle shape just slightly shorter than the long side of your pan.
null
Rollin', rollin', rollin'...

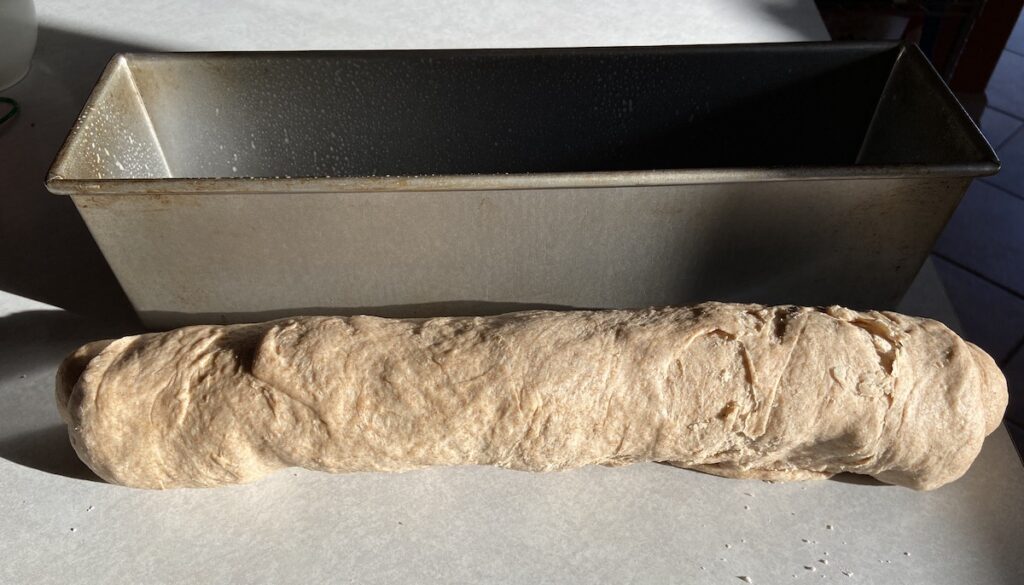
Starting at the top edge of the dough (the long side that's farthest from you), begin to roll the dough. After each turn of the dough, seal the seam firmly to prevent large air bubbles from forming as the loaf bakes. When the dough is fully rolled, if it's slightly longer than your pan (mine always is), place your palms on the two sides of the dough log and push in slightly until the dough is the right length.
null
All rolled up!

Gently pick up dough and place it in the oiled pan, seam side down. Cover pan with the lid and let it rise until it is about 1 inch from the top of the pan. I find that this takes 30-40 minutes. Preheat the oven to 400° F while the dough is rising.

null
So this is practically touching the lid, whoops! It still turned out fine.

Bake with the lid on for 30 minutes. Remove pan from oven and using pot holders, slide lid off pan and set aside. Return pan to oven for an additional 10 minutes until the loaf is golden brown and cooked through. When loaf is done baking, immediately turn out onto a cooling rack and let cool.

You will be very tempted to cut into your new loaf immediately, but resist the temptation! (Nerd alert: here's a great article explaining why this is.)

Once the bread has cooled to room temperature, slice and enjoy! This recipe makes more than we can eat within a few days, so I typically cut the loaf in half, wrap one half in plastic, put it in a zip-top bag, and freeze until it's needed.

*Mr. NaCl found the recipe online and printed it out, and now I can't find it anywhere online! It looks to originally be from the book Whole Grain Breads by Machine or Hand by Beatrice Ojakangas. Fun fact: According to the book's description, Ms. Ojakangas is from Duluth!

**The original recipe calls for whole wheat bread flour, which I've never found in stores.

Everything bagel bread

Topping

Bread

  1. For the topping: Combine all ingredients in bowl; set aside.  - or just buy everything but the bagel from Trader Joes.....
2. For the bread: Spray 8½ by 4½-inch loaf pan with oil spray. Whisk flour and yeast together in bowl of stand mixer. Fit mixer with dough hook. Add 1¼ cups (10 ounces) water and 2 tablespoons corn syrup. Mix on medium-low speed until dough comes together and no dry flour remains, about 2 minutes. Turn off mixer, cover bowl with dish towel or plastic wrap, and let dough stand for 10 minutes.
3. Add salt to dough and knead on medium speed until dough is smooth and elastic, about 10 minutes. Turn out dough onto clean counter and form into ball by pinching and pulling dough edges under so top is smooth. Flip dough smooth side down.
4. Pat dough into 6-inch square and position parallel to edge of counter. Fold top edge of dough down to midline, pressing to seal. Fold bottom edge of dough up to meet first seam at midline and press to seal. Fold dough in half so top and bottom edges meet; pinch together to seal. Flip dough seam side down and roll into 8-inch log.
5. Transfer to prepared pan, seam side down. Spray top of dough lightly with oil spray, then cover loosely with plastic. Let sit in warm place until dough rises to lip of pan, about 1 hour.
6. Adjust oven rack to middle position and heat oven to 350 degrees. Line large plate with clean dish towel. Bring 2 quarts water to boil in Dutch oven. Once boiling, add baking soda and remaining 2 tablespoons corn syrup.
7. Gently tip dough out of pan onto counter. Lift dough, gently lower into boiling water, and cook for 45 seconds per side. Using spider skimmer or 2 slotted spoons, transfer dough to prepared plate. Fold dish towel over dough gently to wick away excess moisture on top. Let sit until cool enough to handle, about 2 minutes.
8. Respray now-empty pan with oil spray. Add 2 tablespoons topping to pan and shake until bottom and sides of pan are evenly coated. Transfer dough to prepared pan, seam side down, pushing it in at edges to fit if necessary.
9. Using paring knife, make six ¼-inch-deep slashes crosswise along surface of dough, about 1 inch apart. Brush dough with egg, then sprinkle with remaining 4 teaspoons topping. Bake until golden brown and loaf registers at least 200 degrees, about 45 minutes. Let bread cool completely in pan, about 2 hours. Remove from pan, slice, and serve, toasted if desired.
I got this recipe from ATK / Cooks Illustrated. The first time I made this the dough was almost soupy because I didn't really do a great job measuring, and we didn't have a kitchen scale...... The dough was ugly as sin, and flopped all around, and then baked up to perfection. Crazy.
This time the kitchen scale was used and we nailed the correct amount of flour to water and the dough came together exactly as described. We lined the loaf pan with a bit of cheese cloth to help lift the loaf and deposit it into the boiling water.  Worked like a charm. However, I did manage to mangle the shit out of the dough when trying to get it back out of the water. I'll work on a better method next time. Currently in the oven. I'll let you know how it turned out.

Worth-the-Extra-Effort Baked French Toast

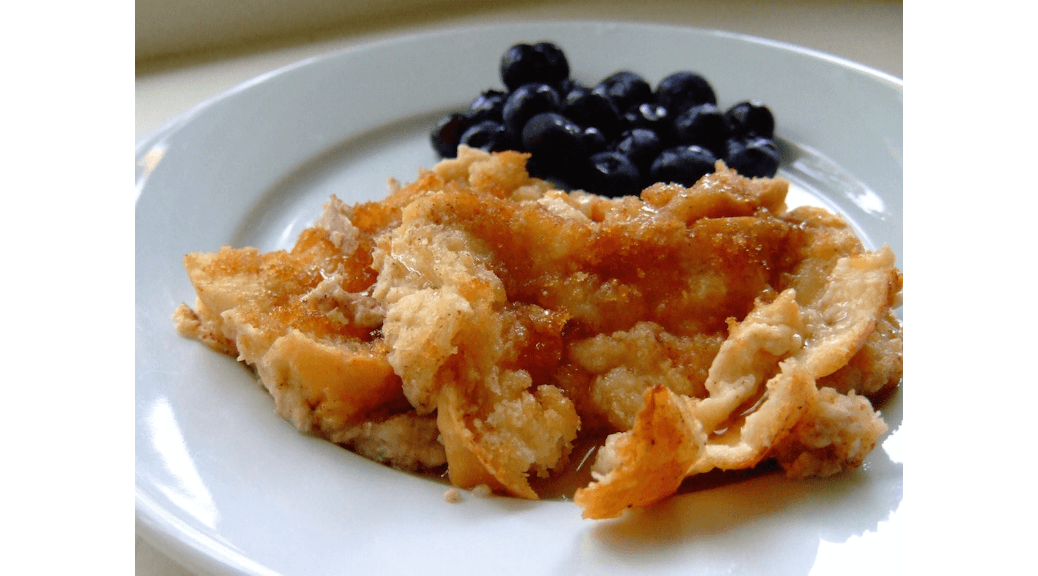
Confession: I'm not great at making French toast on the stovetop. I don't know if it's that I'm not using the right bread, not using the right recipe, or don't have the right temperature for the griddle. But that's okay because I much prefer baked French toast anyway. You put in all the effort the night before, and then in the morning you just have to stumble out of bed, preheat the oven, and make yourself some kind of caffeinated beverage while the oven does the rest.

A while back I shared an easy baked French toast recipe. This is the one to break out when you are feeling extravagant. It makes a whole lot, which is great because the leftovers are also delicious. If you want to go all out, this spinach and potato breakfast hash is great alongside it.

INGREDIENTS
French Toast
1-2 tablespoons butter to grease pan
1 loaf crusty bread
8 large eggs
2 cups (16 oz) whole milk
1/2 cup (4 oz) heavy cream
1/2 cup (3.5 oz) granulated sugar
1/2 cup (4 oz) light brown sugar
2 tablespoons vanilla extract (yes, tablespoons is correct!)

Topping
1/2 cup (2 oz) flour
1/2 cup (4 oz) light brown sugar
1 teaspoon cinnamon
1/4 teaspoon salt
approx. 1/4 teaspoon freshly grated nutmeg
1 stick (4 oz.) butter, cut into pieces

TO PREPARE THE NIGHT BEFORE
Grease a 9 x 13 baking pan with butter. Cut the bread into cubes (1" square or smaller) and place in the pan. Crack the eggs into a large bowl. Add milk, cream, granulated sugar, brown sugar, and vanilla and whisk everything together. Then pour it all over the bread. Cover the pan tightly (I use plastic wrap) and store in the fridge overnight.

Make the topping: Mix the flour, brown sugar, cinnamon, salt, and nutmeg in a separate bowl Add the butter and use a pastry cutter to mix it all together until the mixture resembles fine pebbles. (Be careful at this stage; I once flung a large piece of butter out of the bowl and onto the kitchen floor while doing this.) Transfer mixture to a Ziploc bag and store in the fridge.

TO BAKE
Preheat the oven to 350 degrees F. Take the pan out of the fridge and sprinkle topping on evenly. Bake for 45-60 minutes. The shorter time gives you something that is very bread putting-esque in the middle, while the longer time gives a firmer, less squidgy texture.

Scoop individual servings onto plates and drizzle with syrup. (A little syrup goes a long way here.) I like to serve with some vegetarian sausage and fresh fruit.

Recipe source: The Pioneer Woman

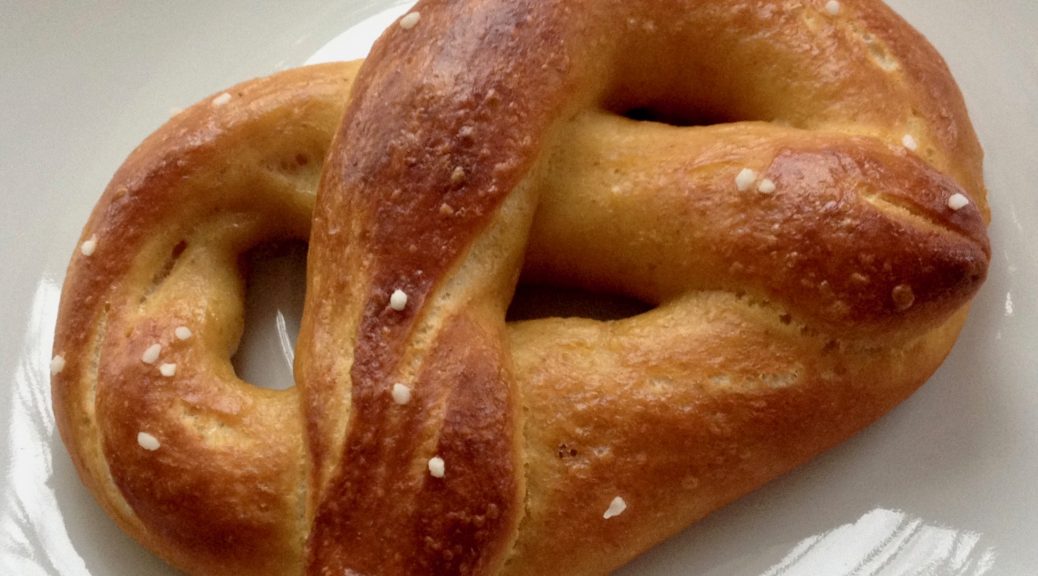
Bake Your Own Pretzels

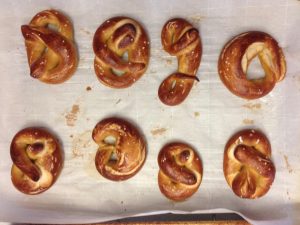
I was just telling a friend the other day how much I like homemade baked pretzels, and I figured some of y'all might be interested in the recipe as well!

I've been making this recipe from Alton Brown for a few years now, and it has never disappointed.

Notes:
The directions call for using a stand mixer, but there's no reason these couldn't be mixed and kneaded by hand if you were so inclined.

Authentic baked pretzels are boiled in lye, but the baking soda/water mixture in this recipe works pretty darn well and involves a lot less in the way of safety precautions.

If you don't have pretzel salt, you can use coarse kosher salt, but the real thing is better. I couldn't find any pretzel salt in stores, so I ordered it online. The smallest size container I found was 2 pounds, so I expect I'll be making this recipe for many years to come...

Ingredients
1 1/2 cups warm water (110-115°F)
1 tablespoon granulated sugar
2 1/4 teaspoons active dry yeast (1 package)
1 lb, 6 oz all-purpose flour*
2 teaspoons kosher salt
2 ounces unsalted butter, melted
vegetable oil (I use spray canola oil)
10 cups water
2/3 cup baking soda
1 large egg yolk beaten with 1 tablespoon water
pretzel salt

Directions
Combine water and granulated sugar in the bowl of a stand mixer and sprinkle the yeast on top. Let sit for 5 minutes (or until the mixture begins to foam). Add flour, kosher salt, and butter. Using the dough hook attachment, mix on low speed until well combined. Then change to medium speed and knead until the dough is smooth and pulls away from the side of the bowl, approximately 5 minutes.

Remove dough from the bowl, clean the bowl, and then oil it well with vegetable oil. Return the dough to the bowl, cover with a towel, and let sit in a warm place for 50 to 55 minutes--or until the dough has doubled in size.

About 20 minutes before the end of the rising time, preheat oven to 450°F. (My oven runs a bit cool, so I set it to closer to 475°F. The pretzels won't brown well if your oven isn't hot enough.) Line two large cookie sheets with parchment paper.

Also before the end of the rising time, bring 10 cups water and baking soda to a rolling boil in a large saucepan.

When dough has finished rising, turn it out onto a slightly oiled work surface and divide into approximately 16 equal pieces. (Alton suggests 8 pieces, but I find that to be so large it's pretty much a meal in and of itself. Since I usually bring these pretzels to gatherings where other food is served, I opt for a smaller size.) Roll out each piece of dough into an 18-inch rope (estimating is fine here--no need to get out a ruler!). Make a U-shape with the dough rope, then hold the ends and cross them over each other. Press the dough ends firmly onto the bottom of the U-shape so that the pretzel will hold its shape. Or feel free to experiment with other shapes--just don't get too intricate, and it'll be fine.

You can either shape all your pretzels at once or alternate shaping them and boiling them. Or enlist child labor helpers to help shape the dough.

Place the pretzels into the boiling water, one at a time, for approximately 30 seconds. (I've gotten distracted and left pretzels in the water for far longer than this; they still turn out fine.) Remove them from the water using a slotted spoon (Alton Brown suggests a large, flat spatula for this, but I prefer my trusty spoon). Place pretzels on the lined cookie sheet, leaving 1.5" to 2" between pretzels.

Brush the top of each pretzel with the beaten egg yolk and water mixture and sprinkle with the pretzel salt. Bake until dark golden brown in color, approximately 12 to 14 minutes. (Don't chicken out and remove these from the oven too early--you want them to get fairly dark.) Transfer to a cooling rack for at least 5 minutes before serving.

*I have been known to swap in 6-8 ounces of white whole wheat flour

Monster-esque Cookies

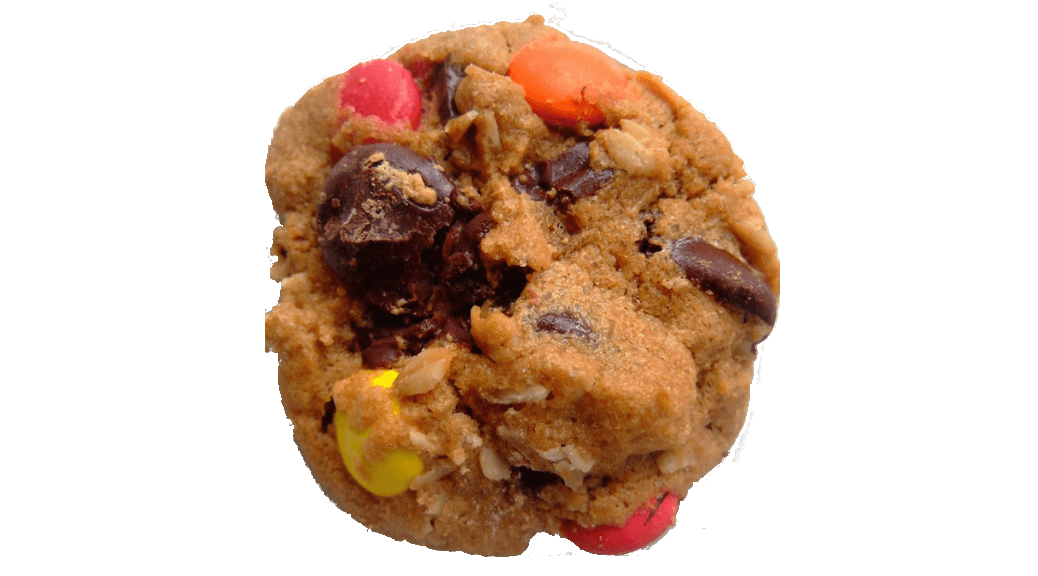
I had these cookies for the first time at a Halloween party a long time ago, and therefore I always associate them with Halloween. I don't know for sure exactly what elements are required for a true monster cookie, but these are at least a close relative of monster cookies. While there's no small amount of sugar in these, they somehow don't taste overly sweet, which I appreciate.

1 cup (8 oz.) butter, softened
1 cup (9.5 oz.) natural peanut butter
1 1/2 cups (12 oz.) brown sugar
1 cup (7 oz.) granulated sugar
2 eggs, room temperature
2 teaspoons vanilla
2 cups (7 oz.) old-fashioned oats*
1 1/2 cups (7 7/8 oz.) whole wheat flour
1 teaspoon baking soda
12 oz. chocolate chips**
2 cups M&M's
1 cup chopped walnuts (optional; I didn't use them)

Preheat oven to 325°F. Line two baking sheets with parchment paper.

Using a stand mixer (or sturdy electric hand mixer and a large bowl), cream butter and sugars for approximately 3 minutes, until light and fluffy. Scrape down sides of bowl.

Add eggs and vanilla, mixing for about 1 minute.

Add oats, flour, and baking soda. Mix until combined, about 30 seconds. Stir in chocolate chips, M&M's, and walnuts (if using).

Use a cookie scoop, spoon, or your hands to form dough into 1.5-inch balls. Place about 2 inches apart on cookie sheets.

Bake for 10-15 minutes, rotating sheets on top and bottom racks halfway through. When done, the tops of the cookies should be just beginning to brown. Remove cookies from the oven and transfer to a wire rack to cool completely.

Store in an airtight plastic container or ziplock bag for up to 1 week.

*The recipe calls for quick-cooking oats, but I didn't have any, and I thought the cookies turned out great with old-fashioned oats.
**I used Ghirardelli bittersweet chips because I love them, but any variety will do.

Recipe source: a lovely woman named Amy who may or may not have originally gotten the recipe from a Martha Stewart magazine

Triple-Threat Cookies

Lest y'all think I haven't picked up any sports lingo in the nearly 4 years I've been hanging around here . . .

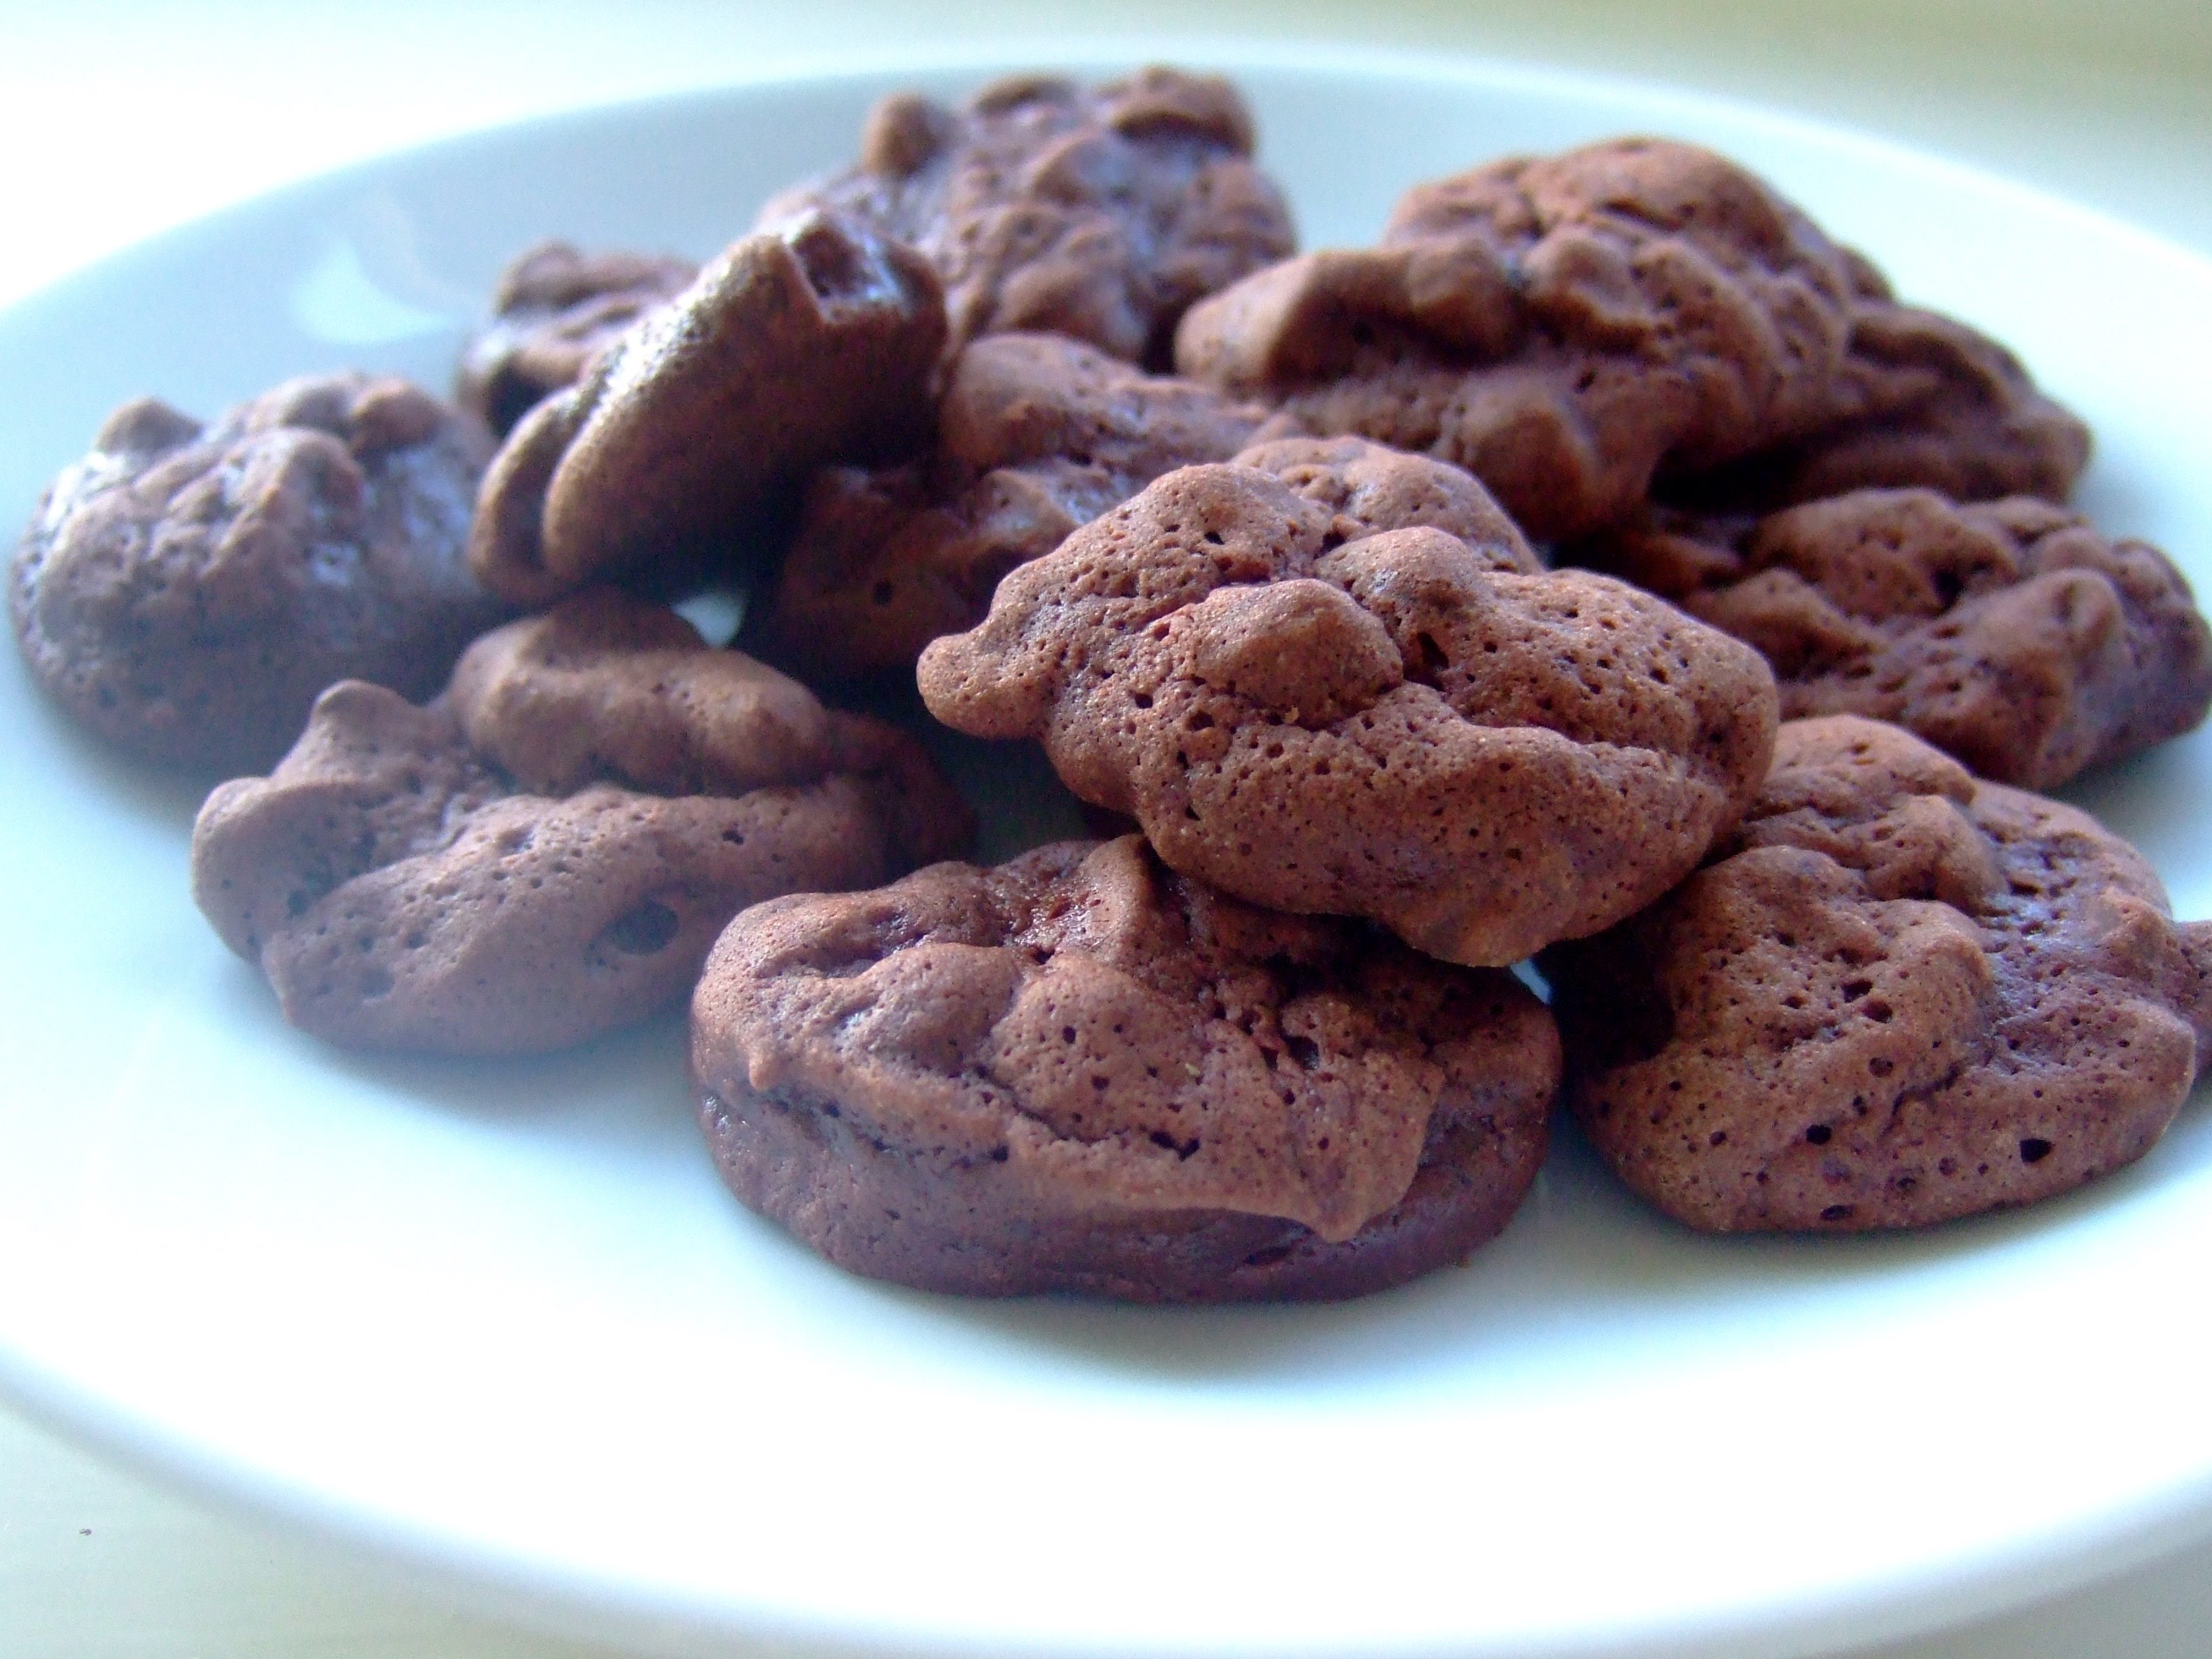
In this case, the recipe's name refers to the fact that these cookies contain three kinds of chocolate. Yeah, baby.

from The Last Course: The Desserts of Gramercy Tavern by Claudia Fleming, via Epicurious

1/4 (1 1/8 oz.) cup all-purpose flour
1/4 teaspoon baking powder
1/8 teaspoon salt
2 large eggs
2/3 (4 2/3 oz.) granulated sugar
1/2 tablespoon brewed espresso*
1 teaspoon vanilla extract
2 tablespoons unsalted butter
5 ounces extra-bittersweet chocolate, chopped**
2 ounces unsweetened chocolate, chopped
3/4 cup (4 3/4 oz.) mini chocolate chips

Preheat oven to 375°F. Line two baking sheets with parchment paper.

In a small bowl, whisk together the flour, baking powder, and salt. Set aside.

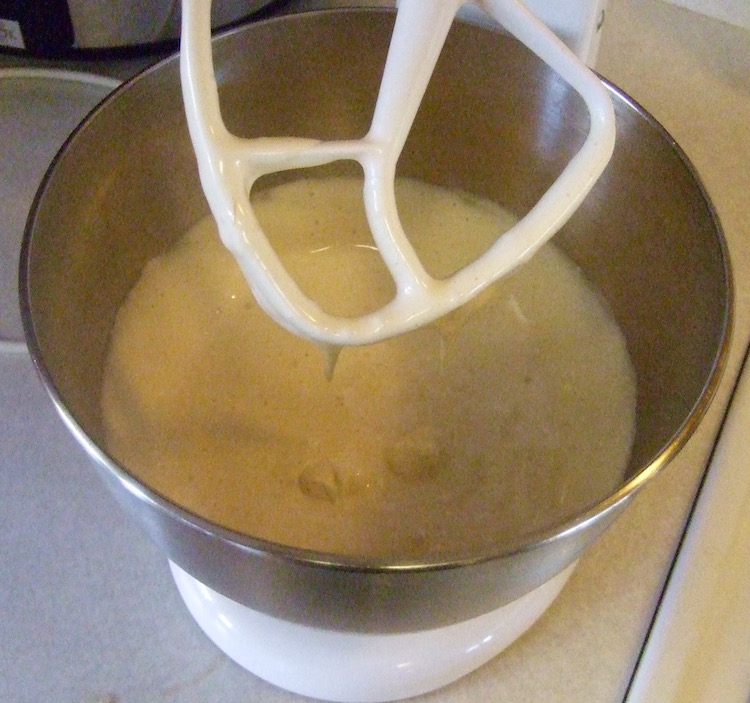
In the bowl of an electric mixer, briefly whip the eggs to break them up. Add the sugar, espresso, and vanilla and beat on high speed for 15 minutes, until thick. (Yes, that's really 15 minutes.)

Here's how your batter should look at the end of that time:
triple2

While the eggs are whipping, place the butter, extra-bittersweet chocolate, and unsweetened chocolate in the top of a double boiler, or in a medium-size metal bowl suspended over a pot of simmering (not boiling) water. Heat until the butter and chocolate melt. Remove the boiler top from over the water and stir the butter/chocolate mixture until smooth.

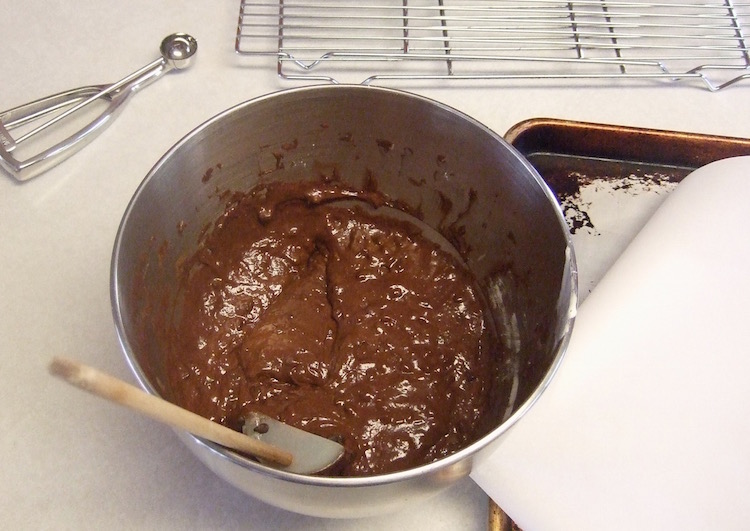
Using a rubber spatula, gently fold the chocolate mixture into the egg mixture until partially combined (there should still be streaks). Add the flour mixture to the batter and carefully fold it in. Fold in the chocolate chips. If the batter is very runny, let it rest until it thickens slightly, about 5 minutes.

Here's my finished batter:
triple3

Drop the batter by heaping teaspoonfuls (yes, these are tiny cookies!) onto the prepared baking sheets. Bake for 8 to 9 minutes, rotating sheets on top and bottom racks halfway through. When done, the cookies should be puffed and cracked on top. (You don't want to overbake these or you'll miss out on the cookies having a gloriously fudge-y center.) Remove baking sheet from the oven and transfer cookies a wire rack to cool completely.

Store in an airtight plastic container or ziplock bag for up to 1 week.

*I'm no coffee drinker, but I keep a jar of instant espresso (e.g. Medaglia d'Oro) in the freezer and brew it when needed for a recipe.
**The chocolate flavor really comes through in these cookies, so if you're making these, I recommend springing for the good stuff.

Spookily Good Sugar Cookies

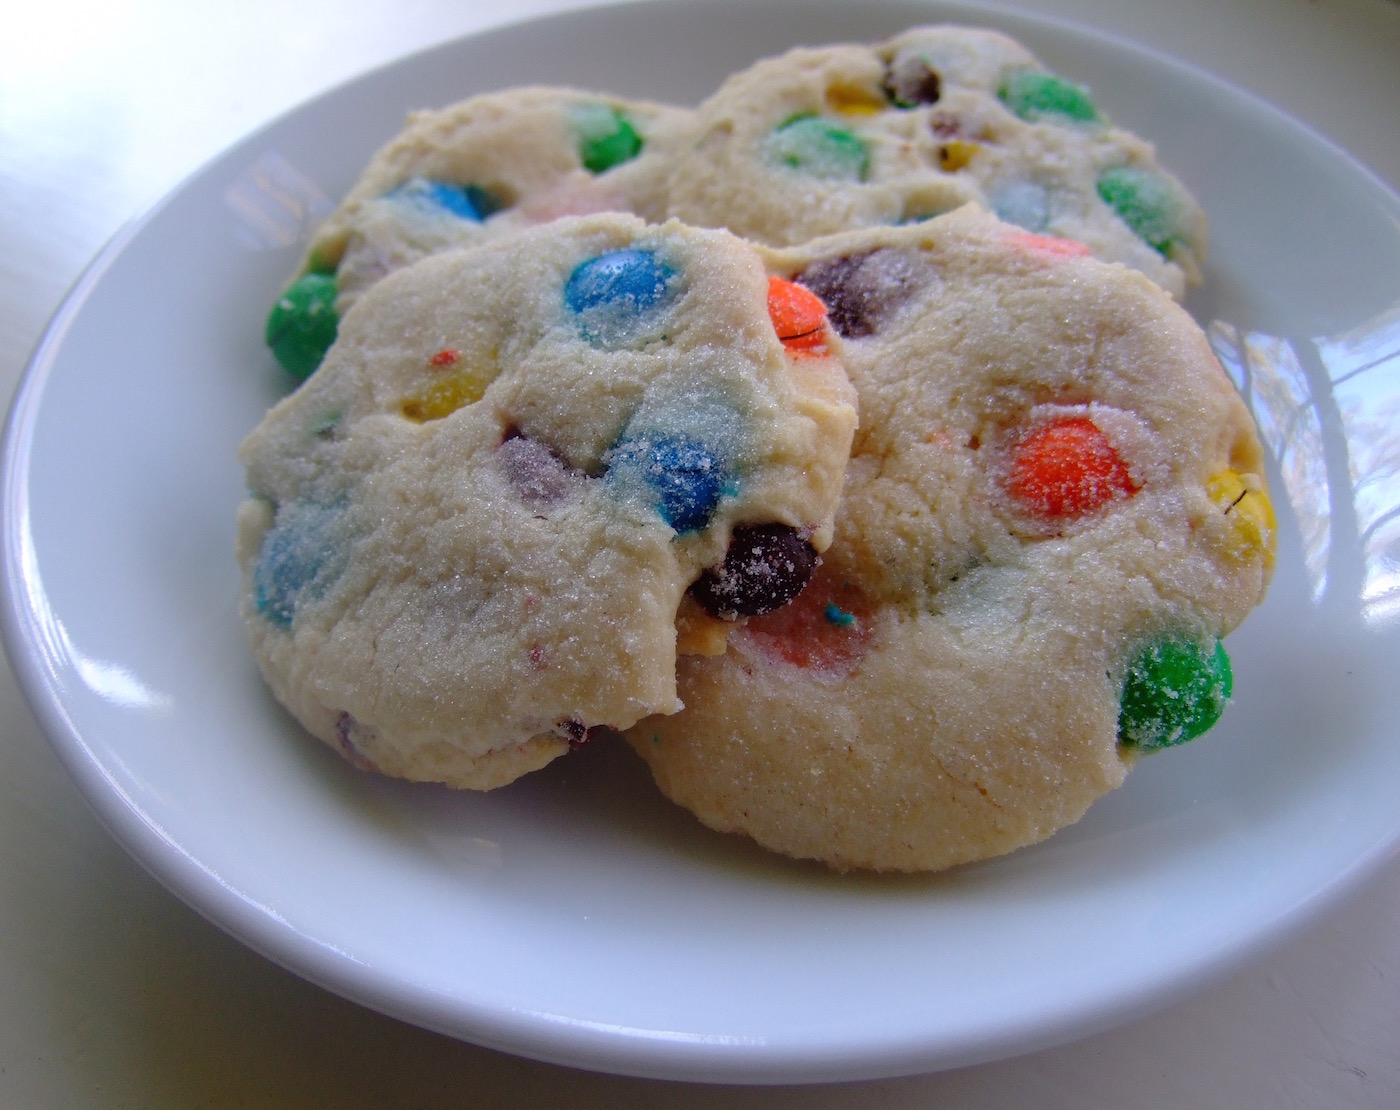
I intended to make these with Halloween-themed M&M's, but I didn't find any, so you're just going to have to pretend. One of my chief complaints about M&M cookies is that the candies are so sweet that the overall effect can be something that appeals only to those who are 10 and under. But this recipe is just the thing--not too sweet and the generous quantity of vanilla along with a hint of nutmeg give them a flavor I can only describe as perfect.

from The Essential Crunchy Sugar Cookie recipe in The King Arthur Flour Cookie Companion

1/4 cup (1 5/8 oz.) vegetable shortening
1/4 cup unsalted butter, softened (this is 1/2 stick, or 2 oz.)
2/3 cup (4 3/4 oz.) granulated sugar
1/2 cup (2 oz.) milk (not skim)
1 teaspoon white vinegar or cider vinegar
1 tablespoon vanilla extract (yes, a whole tablespoon)
1/4 teaspoon nutmeg (I grated my own with a microplane grater and used about 1/2 teaspoon just because it ends up being so fluffy)
2 cups (8 1/2 oz.) all-purpose flour
1/2 teaspoon baking soda
heaping 1/4 teaspoon salt
2 cups M&M's*
additional granulated sugar for tops of cookies

Preheat oven to 325°F. Line two baking sheets with parchment paper. (Alternatively, you can grease the baking sheets.)

Using a stand mixer (or sturdy electric hand mixer and a large bowl), cream shortening, butter, and sugar for approximately 3 minutes, until light and fluffy. Scrape down sides of bowl.

In a liquid measuring cup, stir together the milk, vinegar, and vanilla. Add this to the butter mixture, beating until well combined. The mixture will look curdled, but this is fine.

Add nutmeg, flour, baking soda, and salt while mixer is off. Start beating on slowest speed and gradually increase to medium-low, beating until the mixture forms a cohesive dough. Add M&M's and beat or stir until candies are evenly distributed throughout.

Use a cookie scoop, spoon, or your hands to form dough into 1.5-inch balls. Place about 2 inches apart on cookie sheets.

Using the bottom of a drinking glass dipped in sugar, flatten the balls to 1/4 inch thick.

Bake for 20 minutes, rotating sheets on top and bottom racks halfway through. When done, the cookies should be a light gold color and just beginning to brown around the bottom edges. Remove them from the oven and transfer to a wire rack to cool completely.

Store in an airtight plastic container or ziplock bag for up to 1 week.

*A "medium" bag of M&M's contains 1 3/4 cups, which works fine for this recipe, but if you spring for the "large" bag, you'll have a full 2 cups and some leftovers to much on, which may be either a positive or a negative depending on your perspective.

Pumpkin Waffles

As I always say, when all else fails . . . make waffles. Actually, I never say that. But these are tasty enough to make a bad day tolerable and a good day better.

1 7/8 cups (8 oz.) all-purpose flour
2 cups (8 oz.) white whole wheat flour
1/2 cup (4 oz.) packed light brown sugar
3 3/8 teaspoons baking powder
1 1/2 teaspoons baking soda
3/4 teaspoon salt
3 teaspoons ground cinnamon
1 1/2 teaspoons ground ginger
heaping 1/4 teaspoon ground cloves
6 large eggs
1 1/2 cups whole milk
1 1/2 cups buttermilk
1 15-oz. can solid-pack pumpkin
9 tablespoons (4.5 oz) unsalted butter, melted and slightly cooled
vegetable oil spray for waffle iron
maple syrup

Preheat oven to 250°F and preheat waffle iron.

In a medium bowl, combine flours, brown sugar, baking powder, baking soda, salt, cinnamon, ginger, and cloves.

In a large bowl, whisk eggs until blended. Then whisk in milk, buttermilk, pumpkin, and butter until smooth. Add dry ingredients to wet ingredients and mix with a rubber spatula just until smooth. (Note: my batter had a few lumps, and this did not seem to be a problem.)

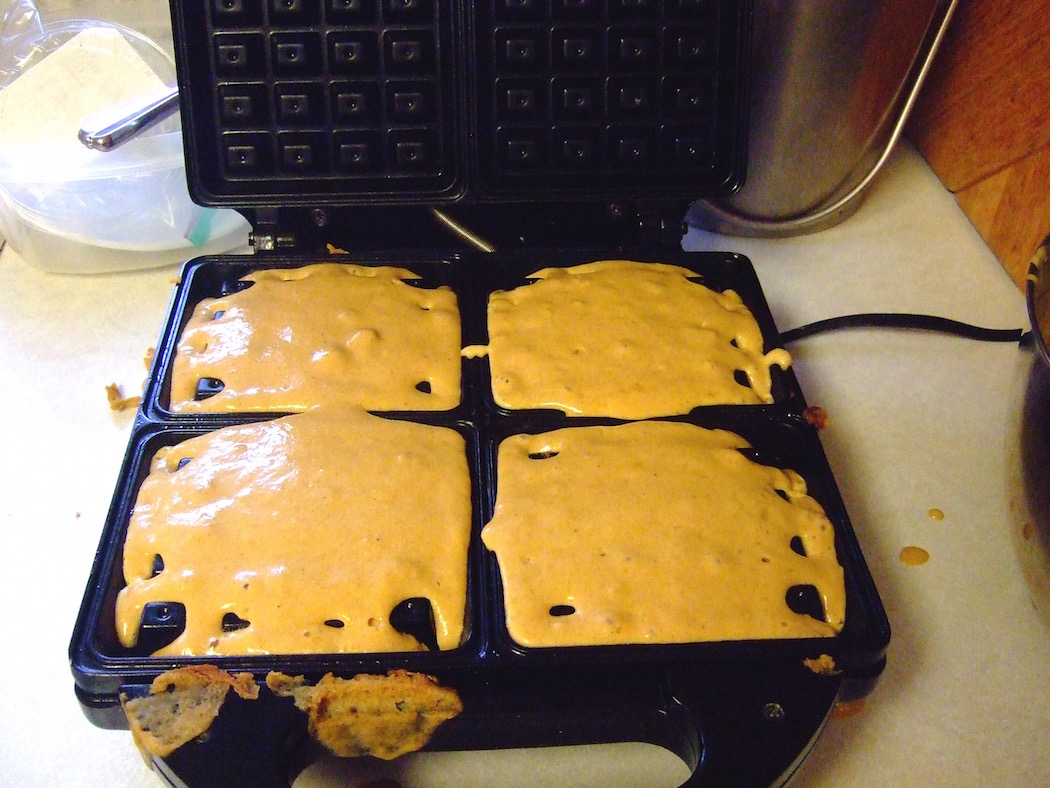
waffle batter

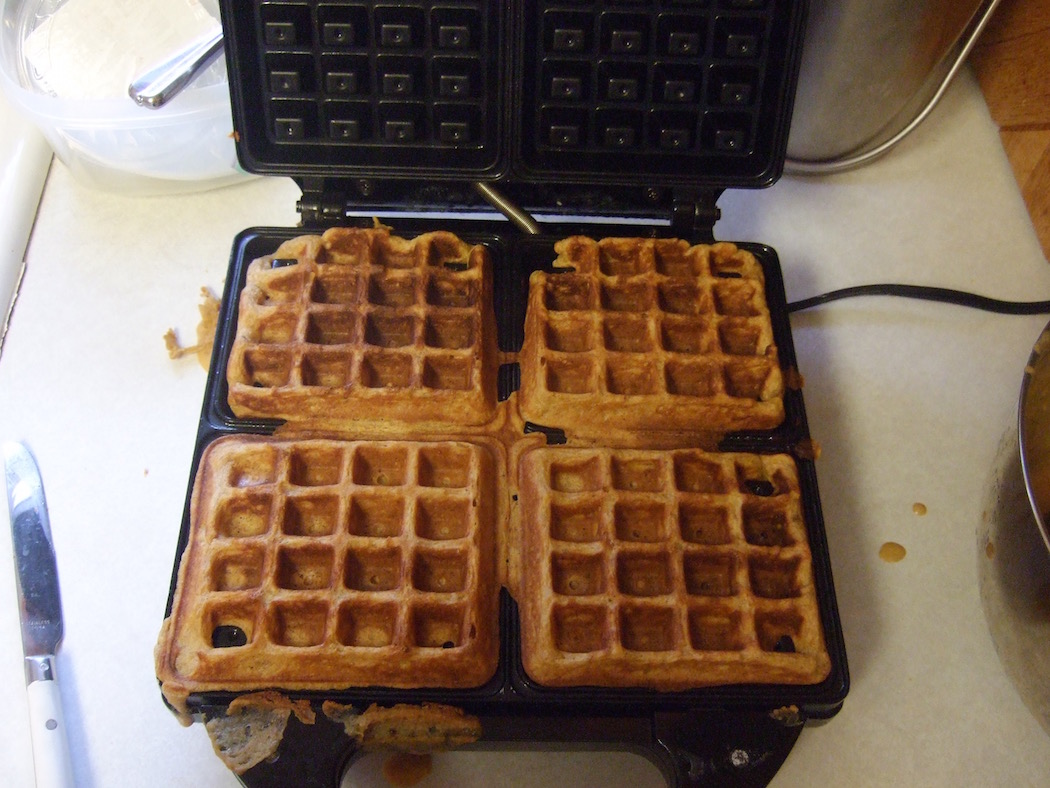
Spray a light coat of vegetable oil onto waffle iron (mine is nonstick, so I did't need much). Using a ladle, pour batter onto waffle iron. Cook according to manufacturer’s instructions. I can never manage to fill the waffle iron the right amount to get full-sized waffles without also ending up with batter spilling out the sides, but perhaps you’re more skilled than I am or own a better waffle iron.

fully baked

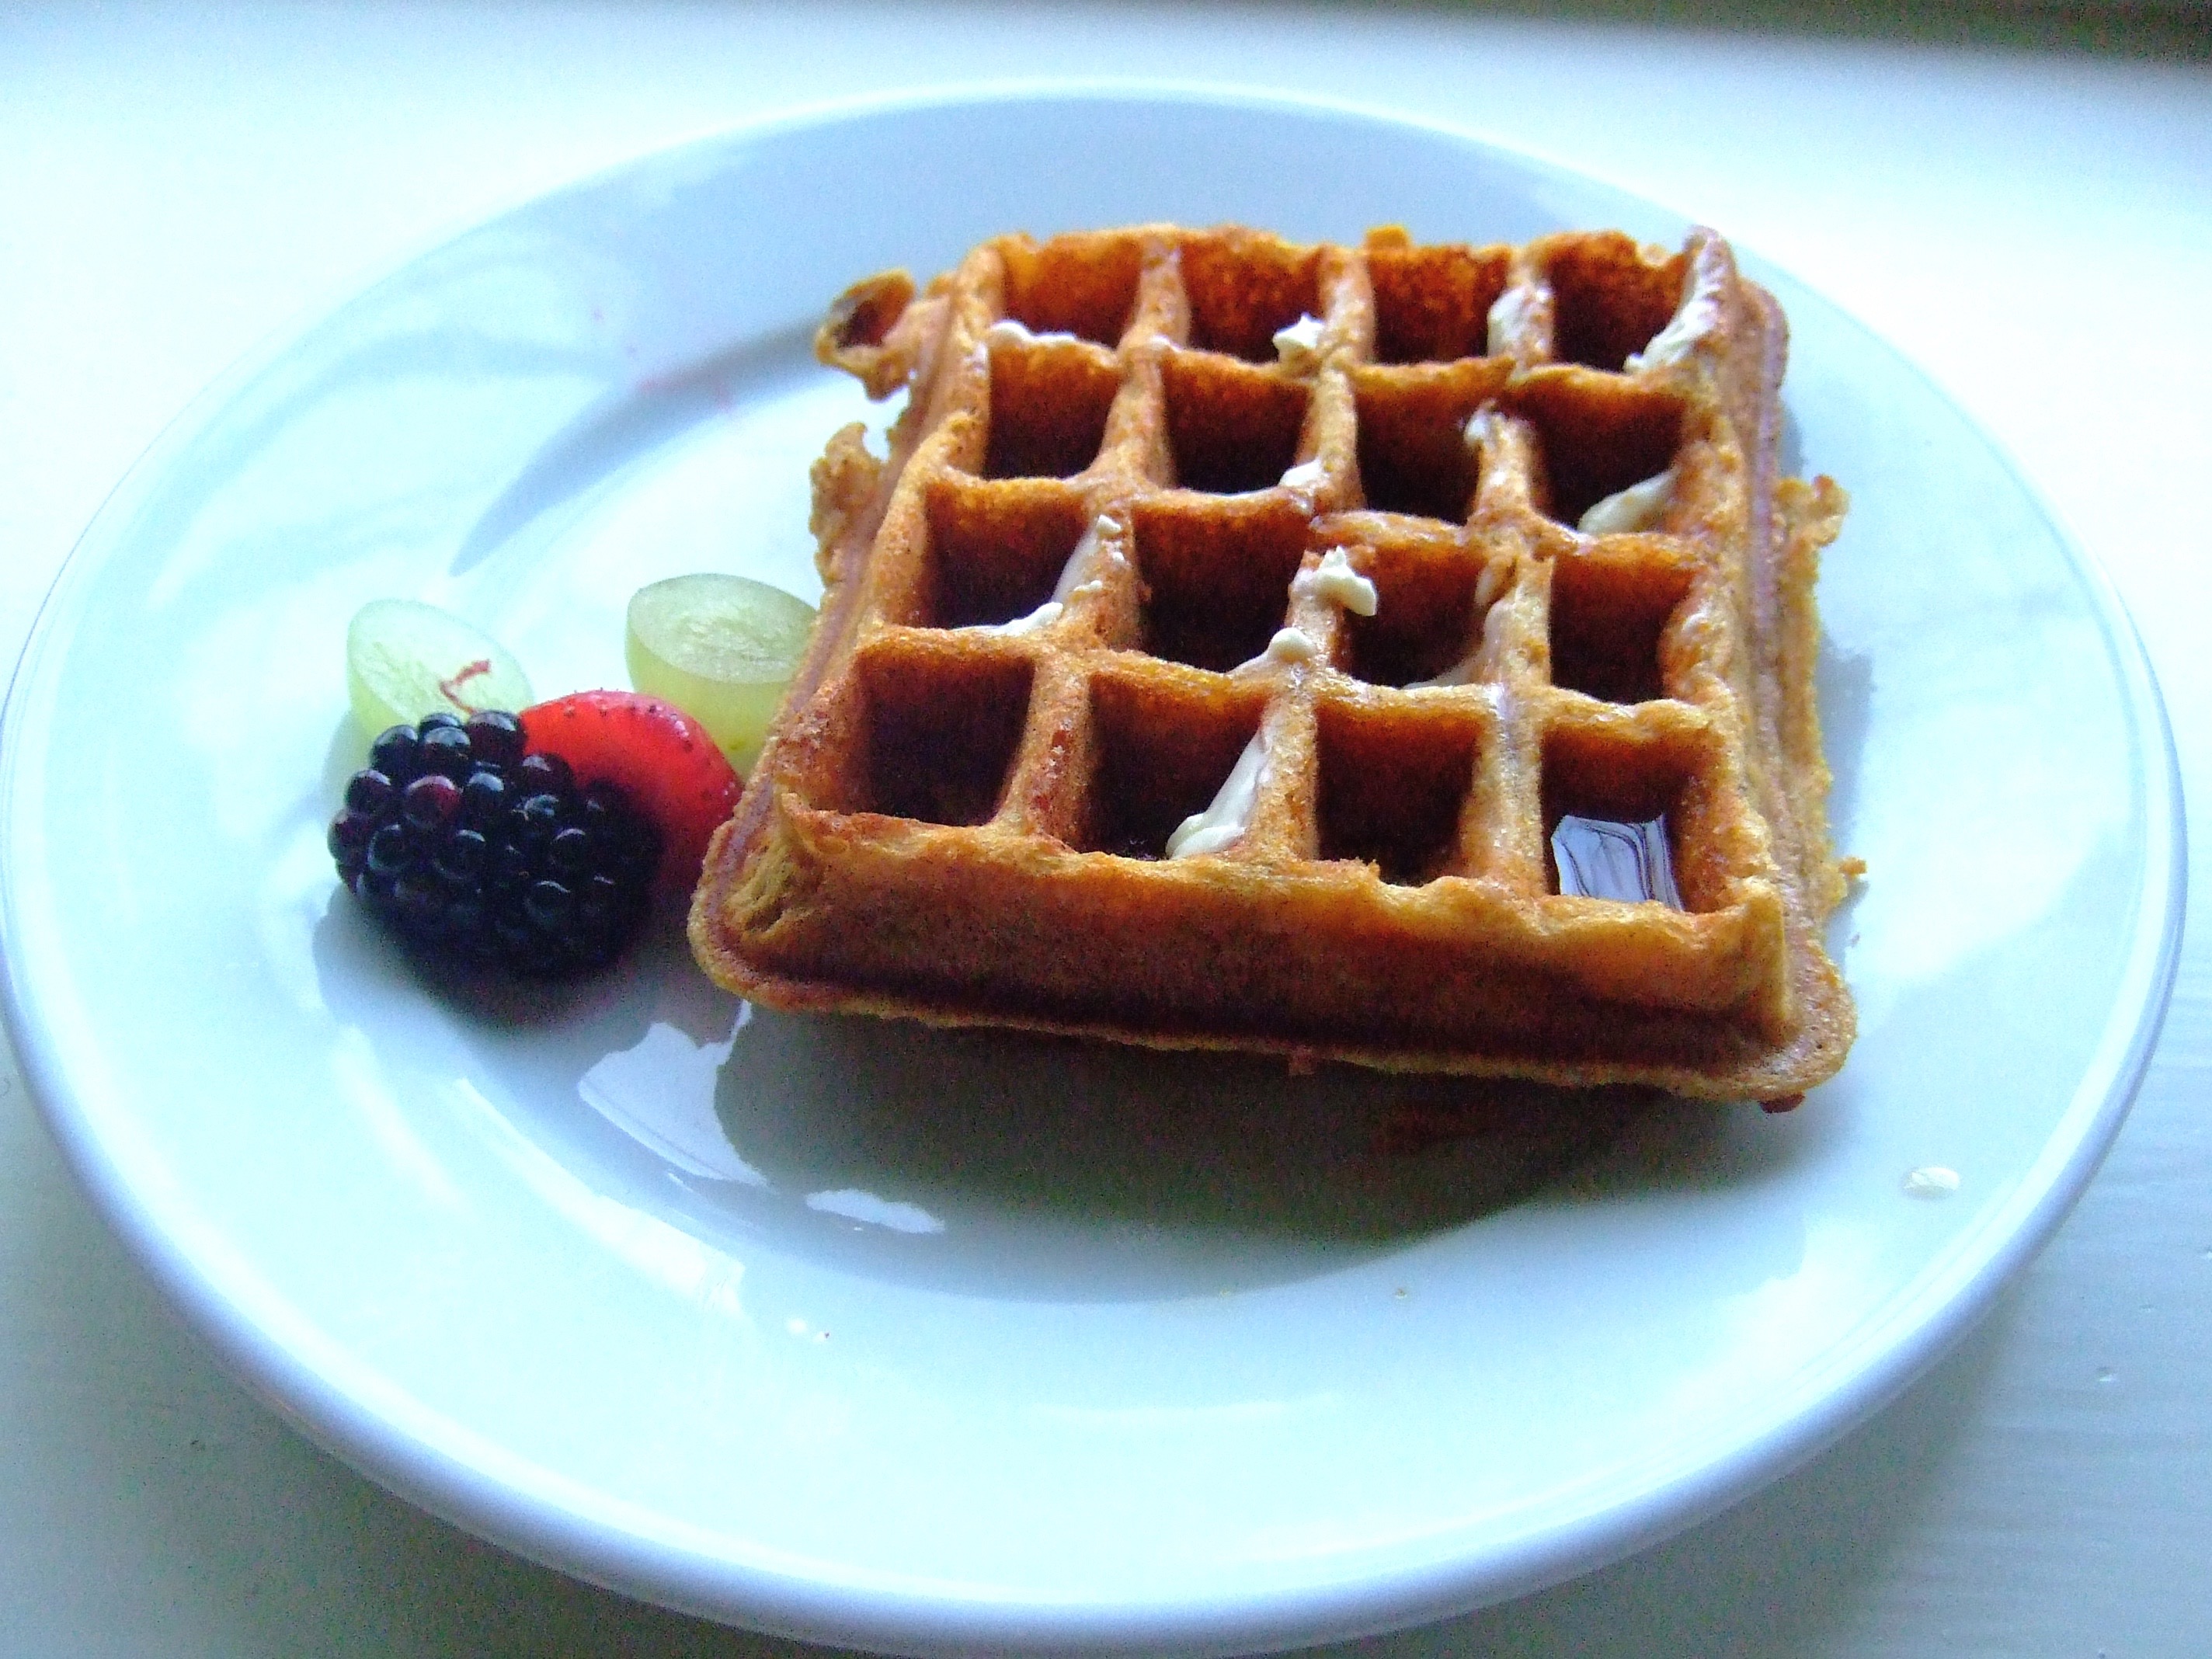
When waffles are lightly browned, transfer them to a cooling rack positioned over a cookie sheet in the oven. This is an important step; it allows them to become crisp. You want to give them about 5 minutes in the oven, though longer is fine too if you want to make all the waffles first and then serve them.

Continue making the rest of the waffles. Serve with butter and maple syrup.

NOTES: Recipe source here. I basically multiplied the ingredients by 1.5 and ended up with 20 waffles. Check out that link if you want to end up with a less ridiculous quantity. I just freeze what we don’t eat. To reheat frozen waffles, defrost in the microwave and finish in the toaster.

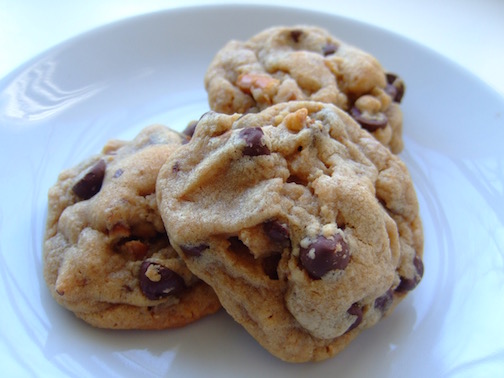
Chocolate Chip Peanut Butter Pretzel Cookies

I have just one problem with these cookies—I can’t stop eating them.

1/2 cup unsalted butter, softened (1 stick)
1/4 cup (2.375 oz.) natural peanut butter, room temperature
1/2 cup (4 oz.) brown sugar, packed
1/4 cup (1.75 oz.) granulated sugar
1 large egg
2 teaspoons vanilla extract
1 1/3 cups (5.625 oz.) all-purpose flour [OR 2.5 oz. white whole wheat and the remainder all-purpose]
1 teaspoon cornstarch
1/2 teaspoon baking soda
generous 1/4 teaspoon salt [OR scant 1/2 teaspoon, depending on your preference]
1 generous cup mini pretzel twists
1 cup semi-sweet chocolate chips

Using a stand mixer (or sturdy electric hand mixer and a large bowl), cream butter, peanut butter, brown sugar, and granulated sugar, beating on medium speed for approximately 3 minutes, until light and fluffy. Scrape down sides of bowl. Add egg and vanilla and beat for 1 minute.

Add flour, cornstarch, baking soda, and salt while mixer is off. Start beating on slowest speed and gradually increase to medium. Beat until just combined and no more flour is visible, about 1 minute.

Add pretzels and chocolate chips, beating on low speed until combined. (This step will crush the pretzels.)

Slap some plastic wrap over the mixing bowl (or transfer to a smaller container with a lid) and refrigerate at least 1 hour and up to 24 hours.

When your chosen interval of time has passed, preheat oven to 350°F. Line cookie sheets with parchment paper.

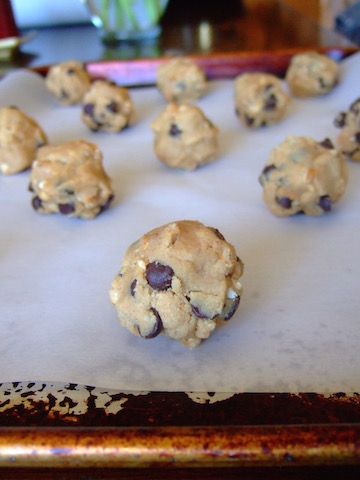
Use a cookie scoop, spoon, or your hands to form dough into 1.5-inch mounds. Place about 2 inches apart on parchment-lined cookie sheets.

ready to bake

Bake for 10-12 minutes, rotating sheets on top and bottom racks halfway through. When done, the tops of the cookies should be barely set. Not to worry—they’ll bake a bit more as they cool. The finished cookies will be fairly soft.

Let sit on cookie sheet for 5-10 minutes (these are too fragile to transfer just out of the oven), then transfer to a wire rack to cool completely.

Store in an airtight plastic container or ziplock bag for up to 1 week.

NOTES: If you’re using peanut butter with salt, I’d probably go with the lower amount of salt. I had only light brown sugar on hand, but I definitely want to try to these cookies with dark brown sugar—this one in particular. The recipe makes about 2 dozen cookies, but it can be easily doubled. Recipe adapted from here.