Okay, not really, but! But! this dish proves that kale isn't a joke being played on us by the hip kids. (As you may may have guessed, I'm a kale skeptic, but this was super delish) I adapted this recipe from here.
You'll need - ->
- 3tablespoons vegetable oil
- one link of smoked cajun sausage diced - or some tasso
- 1yellow onion, diced
- 2shallots, minced
- 2garlic cloves, minced
- 1jalapeño, seeded and finely chopped
- couple dashes Worcester sauce
- a dash or two of your favorite cajun seasoning blend -Cajun Two Step, Tony C's are great but dial down additional salt, Donnies spice mix is also great
- 8ounces fresh spinach
- 1bunch fresh curly kale, large stems removed
- 2cups vegetable stock, fish stock or clam juice
- 1(14-ounce) can coconut milk - I used light instead
1pound fresh or frozen okra, trimmed and cut into ¼-inch pieces- 3medium Yukon Gold or other yellow potatoes, diced
- 1tablespoon filé powder
- 1tablespoon chopped fresh thyme leaves
- 1pound
head-on prawnsor shrimp, peeled and deveined - I used Louisiana brown gulf shrimp and I highly recommend that you do as well or at least try to find domestic shrimp to avoid engaging in slave labor practices rife in international shrimping......... - ½pound lump crab meat
(preferably Dungeness crab) -blue swimming crab meat is a-okay here - Salt and freshly ground pepper
- Cooked white rice, for serving
- Lemon wedges, for serving
- Crystal hot sauce for serving
Method - ->
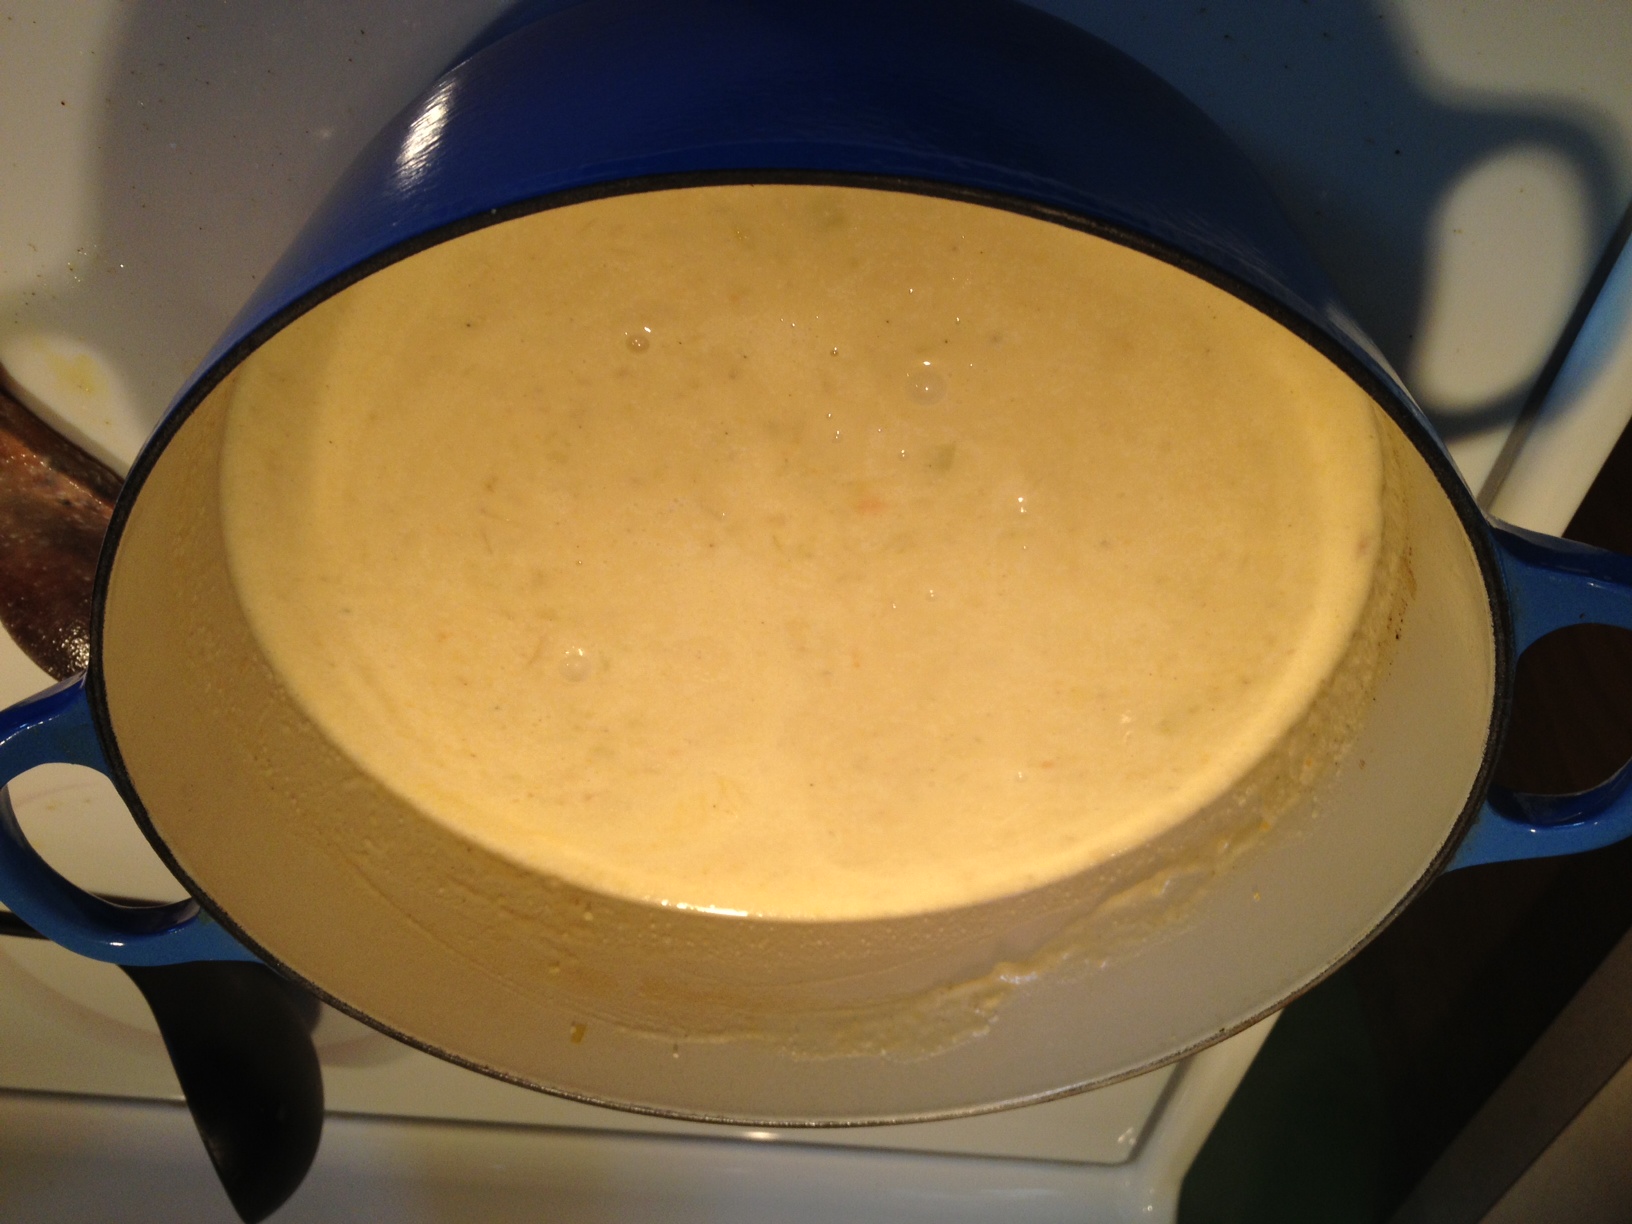
slice and dice the onion, shallot, garlic, and jalapeño (seed and devein if you're worried about heat). Chop up the sausage into tiny bits. Heat a bit of oil in a dutch oven or deep soup pot. Brown the sausage and remove from the pan, add the onion, shallot, jalapeño, garlic, dash of Worcester, pinch of salt, black pepper, and cajun seasoning (The spice level is a dealer's choice thing, you do you). Add a bit more oil and sauté until veg is translucent and soft. Add the kale, spinach, 1 1/2 cup water, 2 cups stock, and one can of light coconut milk (you can use the unleaded type here and the end product will be .... extra) and wilt the greens (5-10 minutes over medium heat). Remove the greens to a blender (or use your immersion blender) and add a cup (or more) of the pot liquor and blend the greens until smooth. I used a vitamix to really, truly ensure that I wouldn't encounter a single, recognizable piece of kale when finally consuming this dish.......Return the puree to the pot, stir to combine, add potato dice and simmer until the potato is tender - about 10 minutes or so. Add the shrimp and continue to simmer until the shrimp are cooked through. Add tiger file and thyme, and rinse the crab meat, remove the pot from the heat, add the crab meat and ring the dinner bell. Adjust for salt, serve over rice with lemon. Kale, not all bad. I still skipped the okra. Okra is still gross.