Tag Archives: recipe

Honey Whole Wheat Pain de Mie

Pain de Mie is a French bread baked in a loaf pan with a lid, which results in a rectangular loaf. It's traditionally made with white flour, but I was intrigued by the idea of a version with at least some whole wheat in it.

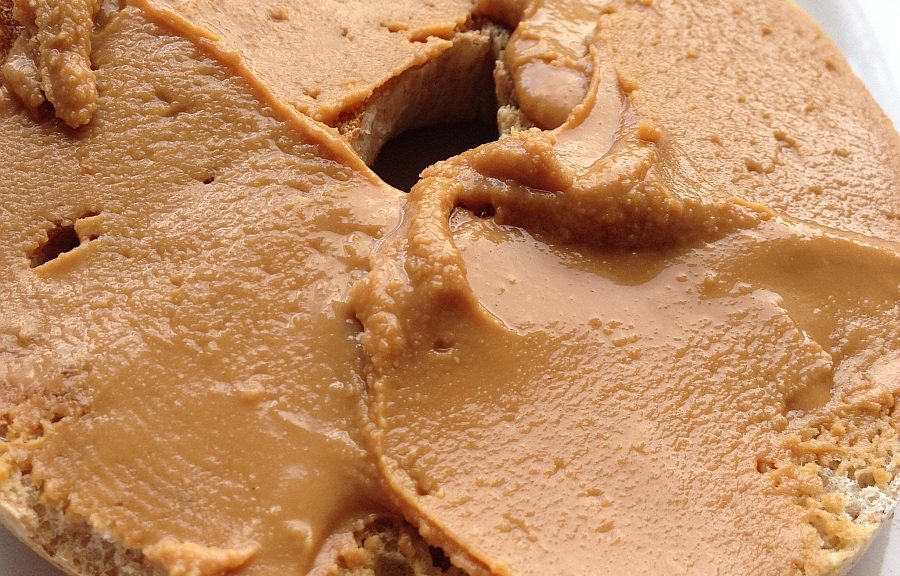
This bread comes together quite quickly by homemade bread standards, and it's incredibly versatile. It's great still warm from the oven with butter or toasted with peanut butter on top. I've enjoyed it equally well with hummus and with egg salad, and it also formed the base of some mighty fine avocado toast when I found myself with a spare avocado half last week. It would probably also taste good with some sort of meat, if you're into that kind of thing.

What follows is my modified version of a recipe* that will fit a 16" Pullman pan. The original recipe is for a 13" pan, so I increased everything accordingly. (A 13" pan holds 14 cups, and my pan holds 16 cups.)

Equipment notes: You need the special pan to get the right shape, but you do not need a mixer. I much prefer measuring with a scale, as I find it's faster and more accurate.

Ingredients
2 1/4 cups whole milk
5 tablespoons (90 grams) honey
3 1/2 tablespoons (1 3/4 ounces) unsalted butter, softened
3 1/2 teaspoons salt
3 cups (18 ounces) whole wheat flour
[note: I think this is a touch too much and plan to go down to 17 ounces the next time I make this]
3 cups (14 1/2 ounces) bread flour**
3 1/2 teaspoons (11.5 grams) active dry yeast
cooking spray

Directions
Heat the milk slightly to 105° F). Pour into a large bowl and add the honey and yeast. Let stand for about 5 minutes until the yeast bubbles.

Add the softened butter, salt, whole wheat flour, and bread flour. Mix until combined; they dough will look somewhat shaggy at this stage. Cover the bowl with a towel and let stand for 15 minutes.

Dump the dough onto the countertop and knead vigorously by hand until the dough is smooth and springy, about 10 minutes. Return the dough to the bowl, cover again with a towel, and let stand until doubled in volume (approximately 1 hour).

null
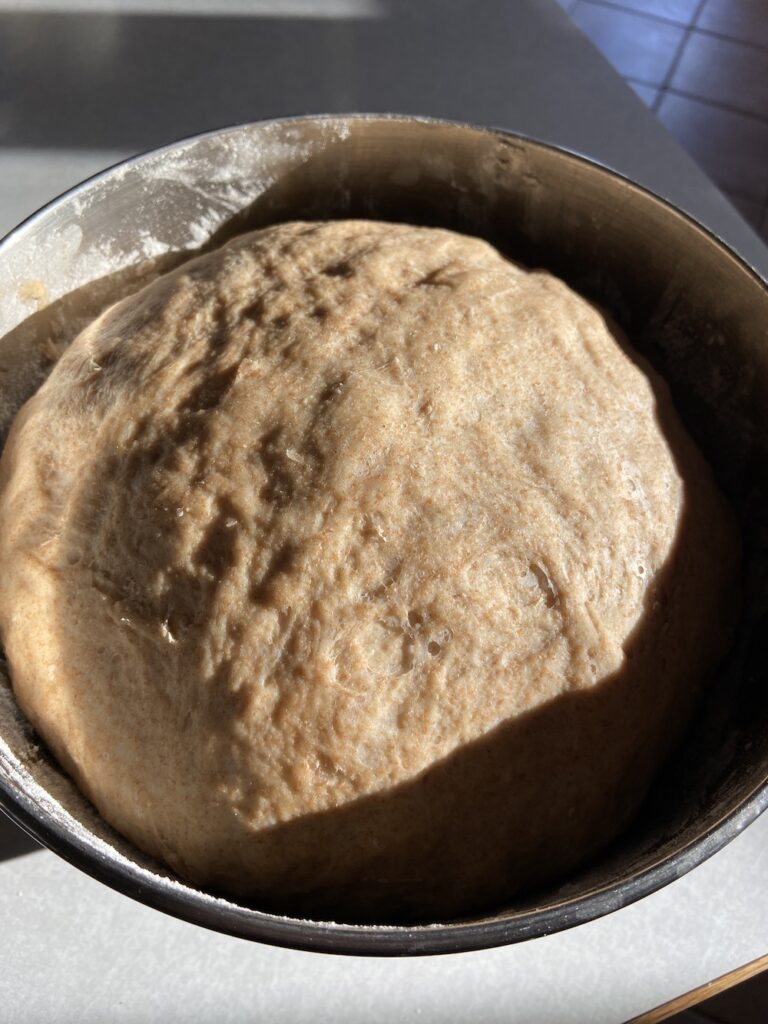
It has risen, indeed.

When dough has risen, spray the inside of your loaf pan with cooking spray to prevent sticking.

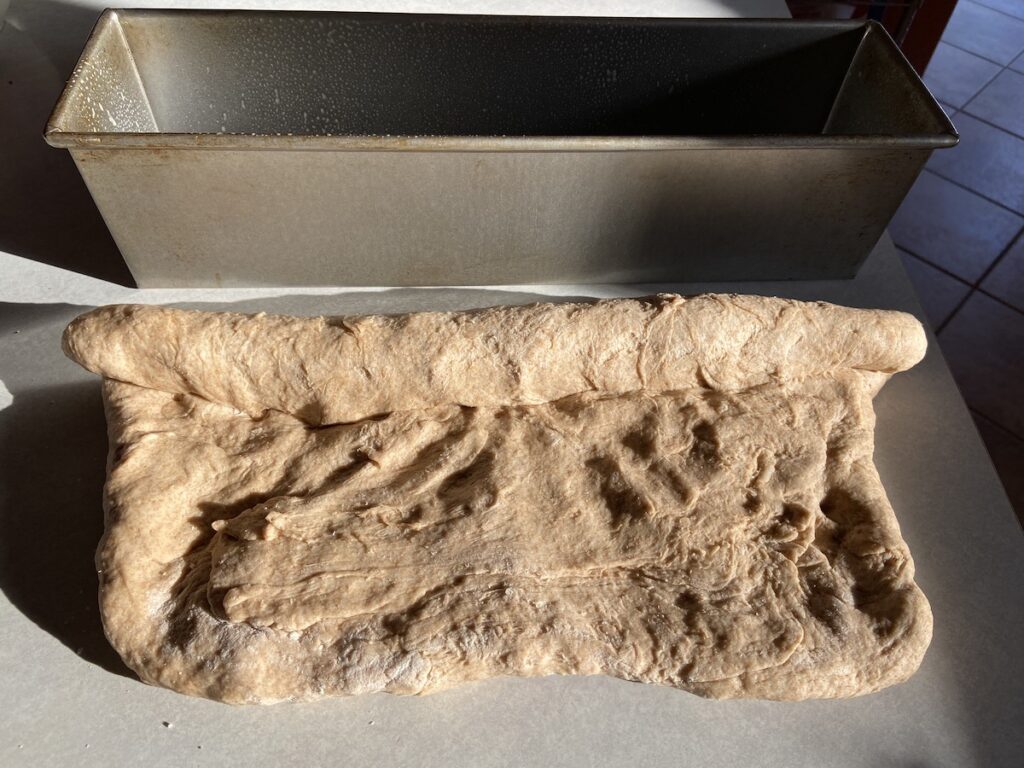
Turn the dough onto a countertop (I find I don't need to flour the countertop, but if your dough seems sticky, by all means put down a little flour). Gently flatten the dough and press it into a rectangle shape just slightly shorter than the long side of your pan.

null
Rollin', rollin', rollin'...

Starting at the top edge of the dough (the long side that's farthest from you), begin to roll the dough. After each turn of the dough, seal the seam firmly to prevent large air bubbles from forming as the loaf bakes. When the dough is fully rolled, if it's slightly longer than your pan (mine always is), place your palms on the two sides of the dough log and push in slightly until the dough is the right length.
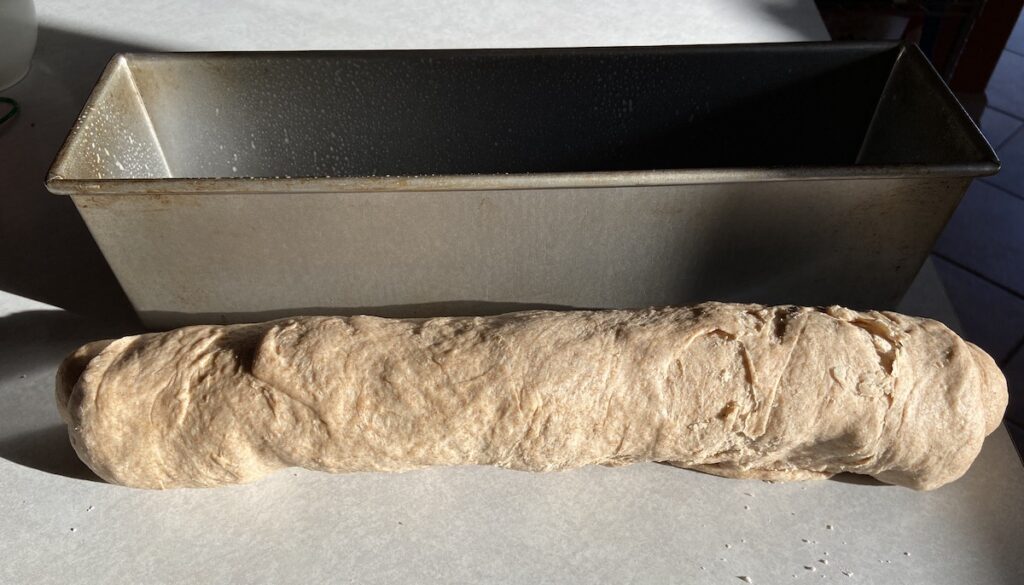
null
All rolled up!

Gently pick up dough and place it in the oiled pan, seam side down. Cover pan with the lid and let it rise until it is about 1 inch from the top of the pan. I find that this takes 30-40 minutes. Preheat the oven to 400° F while the dough is rising.

null
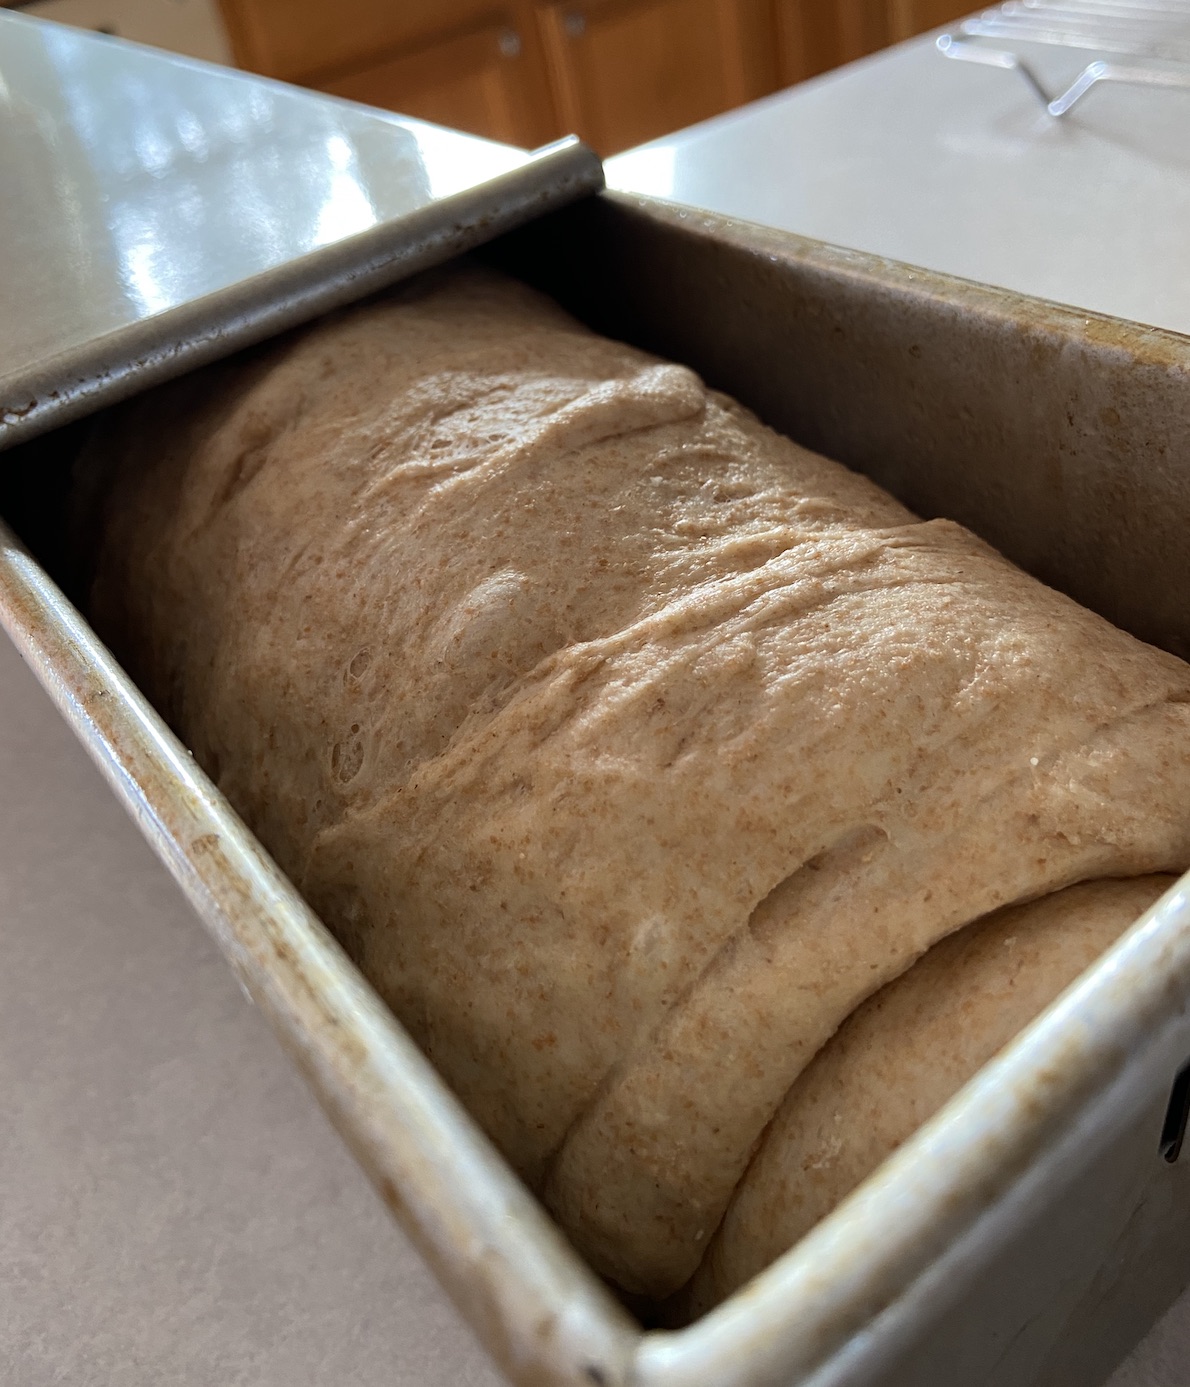
So this is practically touching the lid, whoops! It still turned out fine.

Bake with the lid on for 30 minutes. Remove pan from oven and using pot holders, slide lid off pan and set aside. Return pan to oven for an additional 10 minutes until the loaf is golden brown and cooked through. When loaf is done baking, immediately turn out onto a cooling rack and let cool.

You will be very tempted to cut into your new loaf immediately, but resist the temptation! (Nerd alert: here's a great article explaining why this is.)

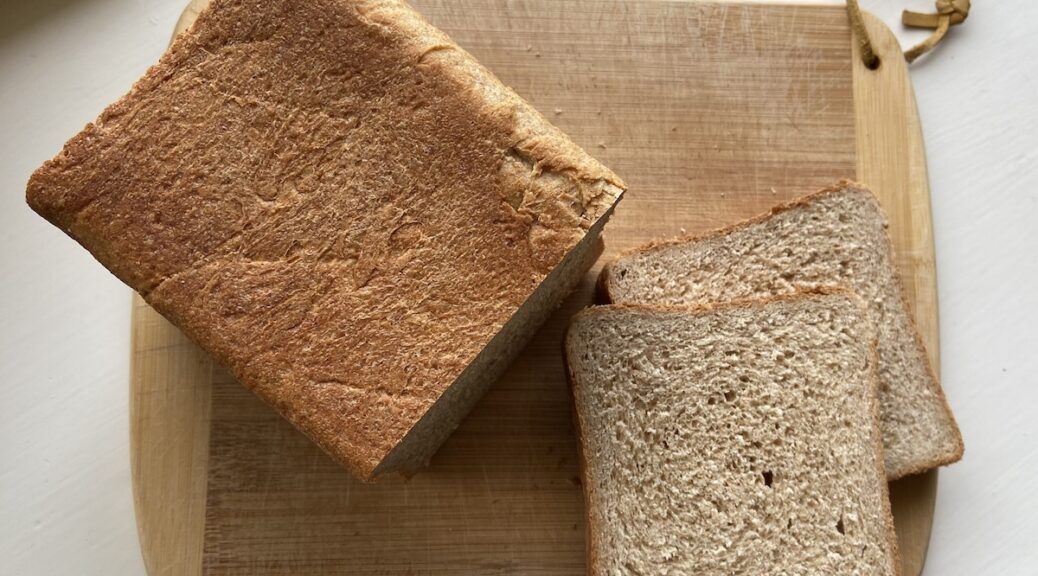
Once the bread has cooled to room temperature, slice and enjoy! This recipe makes more than we can eat within a few days, so I typically cut the loaf in half, wrap one half in plastic, put it in a zip-top bag, and freeze until it's needed.

*Mr. NaCl found the recipe online and printed it out, and now I can't find it anywhere online! It looks to originally be from the book Whole Grain Breads by Machine or Hand by Beatrice Ojakangas. Fun fact: According to the book's description, Ms. Ojakangas is from Duluth!

**The original recipe calls for whole wheat bread flour, which I've never found in stores.

Pepper’s Summer Watermelon Cocktail

I've always been happy to leave the cocktail mixing to the pros, but while sheltering in place, I've been playing around. My younger son is really into watermelon these days, which made me wonder how watermelon might work in a cocktail. I came across this recipe, and after a little experimentation, I might just have found my favorite summer cocktail. It's not to sweet and has a spicy kick that I can't get enough of. Plus, the watermelon "ice cubes" are genius.

Planning note: you'll need to prepare the infused vodka, simple syrup, and watermelon ice cubes ahead of time. This might seem like more work than you want to do for an easy summer cocktail, but it's really not all that much. If you're making cocktails at home, you likely already have a jar of simple syrup in the fridge. And I've found that the extra watermelon juice is a great addition to fruit smoothies, which I've been making regularly for the boys.

INGREDIENTS

  • 2 oz. jalapeno-infused vodka
  • 1 small, seedless watermelon (or a package of cubed watermelon), from which you'll make juice and ice cubes
  • 1 lime, juiced to yield 1 tablespoon juice
  • 1 tablespoon simple syrup
  • splash of sparkling water or club soda
  • lime wedge for garnish (if desired)

DIRECTIONS

To make the jalapeno-infused vodka:
Measure your desired amount of vodka into a mason jar. (I've done this with 4 ounces and 8 ounces.) Slice 1 jalapeno pepper into rounds and add to mason jar. Put the lid on and let infuse for 30 minutes. (This gets quite spicy quickly, so you do NOT want to forget about it and let it sit for hours!) Strain out pepper and seeds and return vodka to mason jar. Store at room temperature until ready to use.

null

To make the cocktail:
Cut watermelon into cubes approx. 1.5 inches square. For each drink you plan to make, throw four cubes into a ziploc bag and freeze for 2 hours (or longer). These will be your ice cubes. Take about a cup of watermelon cubes and liquefy, using an immersion blender, full-size blender, or food processor. Note: I strained the juice the first time I made it, but I found that by not straining it, I get more watermelon flavor in the drink, which I prefer.

Measure 1/4 cup (2 oz.) watermelon juice, 1 tablespoon fresh lime juice, 1 tablespoon simple syrup, and 2 oz. jalapeno-infused vodka. If you have a cocktail shaker, shake it all up and strain into a glass over your watermelon ice cubes. If you're shaker-less like me, stir vigorously and then pour into a glass over your watermelon ice cubes. Add a splash of sparkling water (I probably use about 1 oz.). Garnish with a lime if desired. And enjoy!

Banana Cream Pie for bananas times

What to do with the just ripe to just over ripe bananas? Pie, of course. The hard way around is to make your own pie crust, but a store bought version will work out just fine. Bake the pie crust til golden brown, and set aside to cool. For the filling you'll need:

5 tbs flour
1/2 cup sugar
1/2 tsp salt
2 cups whole milk (very important it's whole milk...)
2 egg yolks
1/2 tsp vanilla
3-4 bananas

Method:
Scald the whole milk in the bottom of a double boiler. Essentially you want to bring the temp of the milk to 180 degrees F. While milk is warming on the stove combine the flour, sugar, and salt in the top half of the double boiler and whisk to combine. Stir the milk to keep a skin from forming, and once the milk is scalded add to the dry ingredients. Rinse out the bottom of the double boiler and fill with enough water to warm the upper half sufficiently. Once the liquid has warmed temper the eggs by adding a few tablespoons worth of milk mixture to the eggs at a time. This will keep the eggs from scrambling once they're added to the milk. Stir in the eggs and reduce the pudding you've made to as thick a consistency as you like - in this case thicker is better so that you don't have runny pudding pie, but it's really dealers choice - When you've just about reached your desired pudding texture stir in the vanilla, slice the bananas into the pie shell, and then fill pie shell with the pudding. Place the whole works in the fridge to chill for a couple of hours.

Pepper Butter

If I make peanut butter, it should logically be called Pepper Butter, yes?

With that important matter taken care of, here's what you need to know: assuming you own a food processor, this is insanely easy and also delicious. Roasting the peanuts is key to getting fantastic flavor, and I love that you can tweak the amount of salt and honey to get exactly the flavor YOU like best.

Ingredients
15 ounces shelled and skinned raw peanuts
1 teaspoon kosher salt
1 1/2 teaspoons honey
1 1/2 tablespoons peanut oil

Directions
Preheat oven to 400°F. Spread peanuts on a rimmed cookie sheet. Roast for 10 minutes. Remove and let cool for about 10 minutes.

Place the peanuts, salt, and honey into the bowl of a food processor. Process for about 5 minutes. The mixture will look dry and rather dough-like for the first few minutes, but keep going. Eventually, like magic, it’ll liquefy. Scrape down sides of the food processor. Place the lid back on and continue to process while slowly drizzling in the oil and process for another minute or so. Taste and adjust salt, honey, or oil if needed. (A little extra oil helps if it’s not quite as smooth as you’d like.) In my first attempt, I added a little more honey and oil.

Place the peanut butter in an airtight container (I used a mason jar) and store in the refrigerator for up to 2 months.

Adapted from here.

French Onion Soup, the easy(ish) way.

As I said last night I'm not really a soup kind of person. Though, now that I think about it I actually have become more of a soup person over the years. We make a green chili stew when it's not hotter'n the blazes - which here is like 2 months of the year - and I'll order pho over bun every day ... and we've been making this white bean and corn soup ... and we've been making crab and corn bisque ... I'm a soup guy? That doesn't line up with my self image. anywho ...

This is lifted from America's Test Kitchen

4lbs onion - yeah, seems like a lot ... it isn't
3 tbs butter cut into three slices
1/2 cup dry sherry
2 cups of water plus additional for deglazing
4 cups of chicken broth
2 cups of beef broth - I used better than broth - its my secret weapon for beefy magic flavor
4 sprigs of fresh thyme
1 bay leaf
crusty baguette
shredded gruyere

Method:
Cut onions in half through the roots, and slice pole to pole in 1/4 inch slices. Preheat oven to 400˚. Put onions into a well oiled dutch oven, top with butter and a 1/4 tsp salt. Put dutch oven in oven covered for an hour. (their method has you then take the pot out of the oven and stir the onions, replace the pot in the oven with the lid cracked for another 1.5 to 1.75 hours- I just cranked up the heat on the burner and stirred the onions to keep them from burning. You're looking for the liquid to evaporate and for the pot to run dry. When a dark crust begins to form on the bottom of the pan add a quarter cup of water to deglaze the pan. Continue to run the pot dry several times until the onions are dark brown - but not burnt! - and are beginning to break apart. the last time you deglaze the pot use the 1/2 cup of dry sherry and cook until the liquid evaporates. Add the water, stock beef broth (or better than broth), bay leaf, and thyme stir to combine, and then bring to a boil and simmer for 30 minutes. Slice the baguette into thick slices and bake dry in the oven - drying these out will improve the crunchy texture of the crust when they're submerged into the soup - once dry top with shredded gruyere and broil until the cheese is bubbly and golden brown on top. Serve in a deep bowl with cheesy bread dunked into the bowl.

This was phenomenal. The hardest part is standing over the pot making sure the onions don't burn.

Pumpkin Waffles

As I always say, when all else fails . . . make waffles. Actually, I never say that. But these are tasty enough to make a bad day tolerable and a good day better.

1 7/8 cups (8 oz.) all-purpose flour
2 cups (8 oz.) white whole wheat flour
1/2 cup (4 oz.) packed light brown sugar
3 3/8 teaspoons baking powder
1 1/2 teaspoons baking soda
3/4 teaspoon salt
3 teaspoons ground cinnamon
1 1/2 teaspoons ground ginger
heaping 1/4 teaspoon ground cloves
6 large eggs
1 1/2 cups whole milk
1 1/2 cups buttermilk
1 15-oz. can solid-pack pumpkin
9 tablespoons (4.5 oz) unsalted butter, melted and slightly cooled
vegetable oil spray for waffle iron
maple syrup

Preheat oven to 250°F and preheat waffle iron.

In a medium bowl, combine flours, brown sugar, baking powder, baking soda, salt, cinnamon, ginger, and cloves.

In a large bowl, whisk eggs until blended. Then whisk in milk, buttermilk, pumpkin, and butter until smooth. Add dry ingredients to wet ingredients and mix with a rubber spatula just until smooth. (Note: my batter had a few lumps, and this did not seem to be a problem.)

waffle batter

Spray a light coat of vegetable oil onto waffle iron (mine is nonstick, so I did't need much). Using a ladle, pour batter onto waffle iron. Cook according to manufacturer’s instructions. I can never manage to fill the waffle iron the right amount to get full-sized waffles without also ending up with batter spilling out the sides, but perhaps you’re more skilled than I am or own a better waffle iron.

fully baked

When waffles are lightly browned, transfer them to a cooling rack positioned over a cookie sheet in the oven. This is an important step; it allows them to become crisp. You want to give them about 5 minutes in the oven, though longer is fine too if you want to make all the waffles first and then serve them.

Continue making the rest of the waffles. Serve with butter and maple syrup.

NOTES: Recipe source here. I basically multiplied the ingredients by 1.5 and ended up with 20 waffles. Check out that link if you want to end up with a less ridiculous quantity. I just freeze what we don’t eat. To reheat frozen waffles, defrost in the microwave and finish in the toaster.

Heart of Darkness Brownies

These brownies are quick to make and require very little in the way of equipment. (No mixer!) Plus they're dark enough to satisfy the most serious chocolate craving. Any type of cocoa powder will work—either natural or Dutch process. The latter will give you darker brownies. My cocoa powder of choice is Valrhona.

from Cocoa Brownies recipe in Chewy Gooey Crispy Crunchy by Alice Medrich

Ingredients
11 tablespoons (5.5 oz) unsalted butter [or Earth Balance]
1 1/4 cups (8.75 oz) granulated sugar
1 scant cup (3 oz) unsweetened cocoa powder
1/4 teaspoon salt
1 teaspoon pure vanilla extract
2 large eggs, cold
1/3 cup plus 1 tablespoon (1.75 oz) unbleached all-purpose flour

Directions
Preheat oven to  325°F. Position a rack in the lower third of the oven. Line bottom and sides of an 8-inch square pan with foil. (There's no need to grease the foil.)

Melt the butter in a medium heatproof bowl set directly in a wide skillet of barely simmering water.

brownies 1

Add the sugar, cocoa, and salt. Stir with a spatula until ingredients are blended and the mixture is hot. Remove the bowl from the skillet and set aside briefly until the mixture is warm (not hot). Mix in the vanilla. Add the eggs, one at a time, mixing vigorously with a spatula after each addition.

brownies 2

When the mixture looks thick and glossy, add all the flour at once and stir until you cannot see any streaks. Then mix vigorously for 40 strokes. Spread evenly in the lined pan.

brownies 3

Bake 20-25 minutes, until a toothpick plunged into the center emerges slightly dirty looking. (Note: This, to me, is the trickiest thing about baking brownies. When you're baking a cake, you want the toothpick to come out clean. But brownies baked to that level of doneness will be too dry. You want these to be set but still moist in the middle.) Cool on a rack. Lift the edges of the foil liner and transfer the brownies to a cutting board. Cut into 16 or 25 squares. Store in an airtight container for 3 to 5 days. If they last that long.