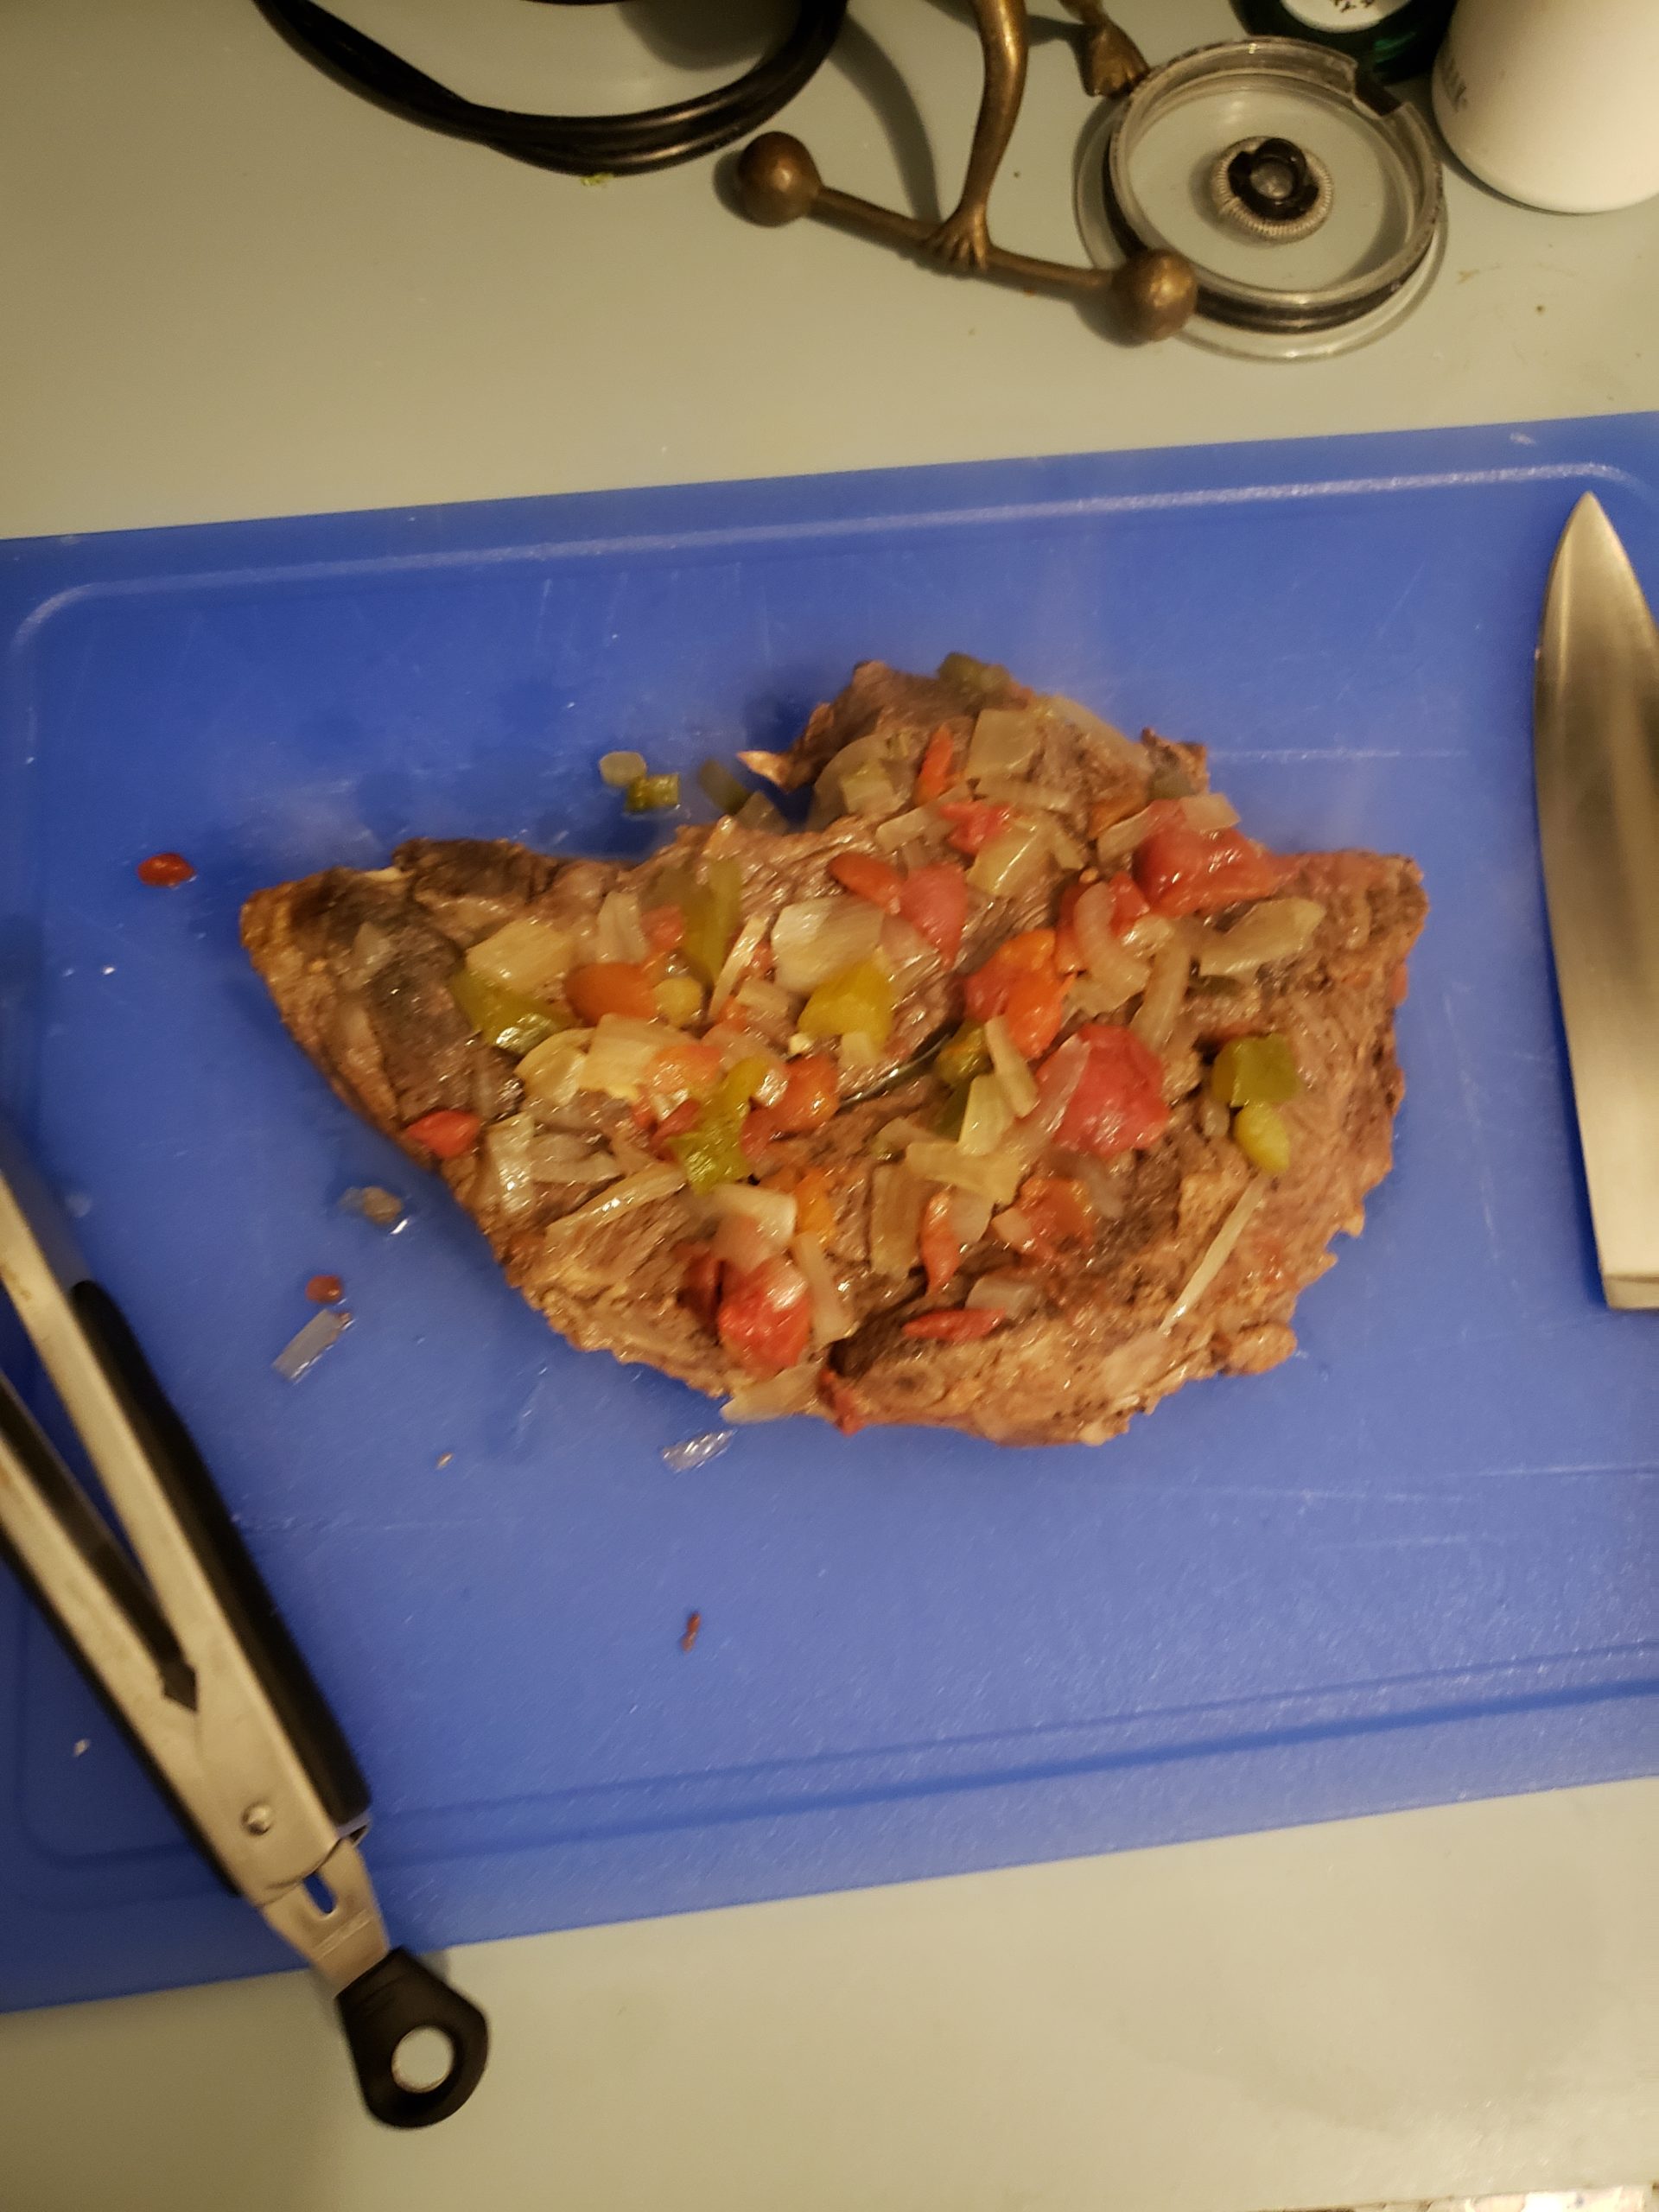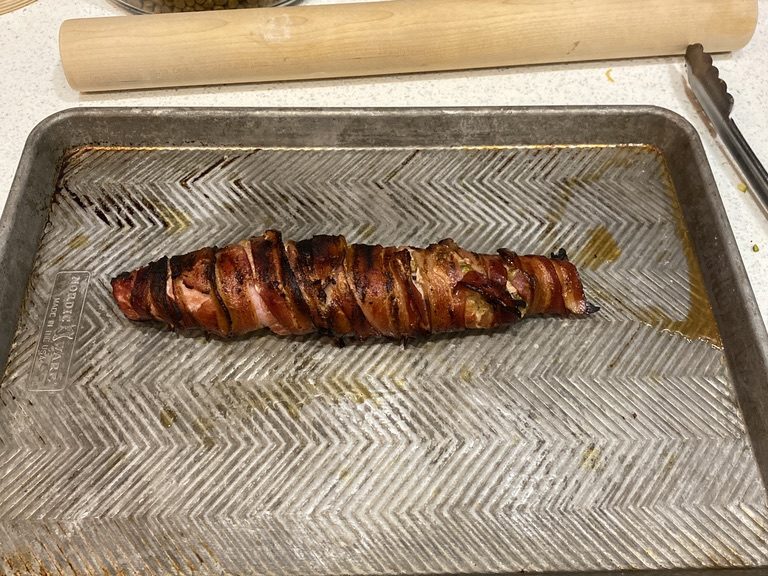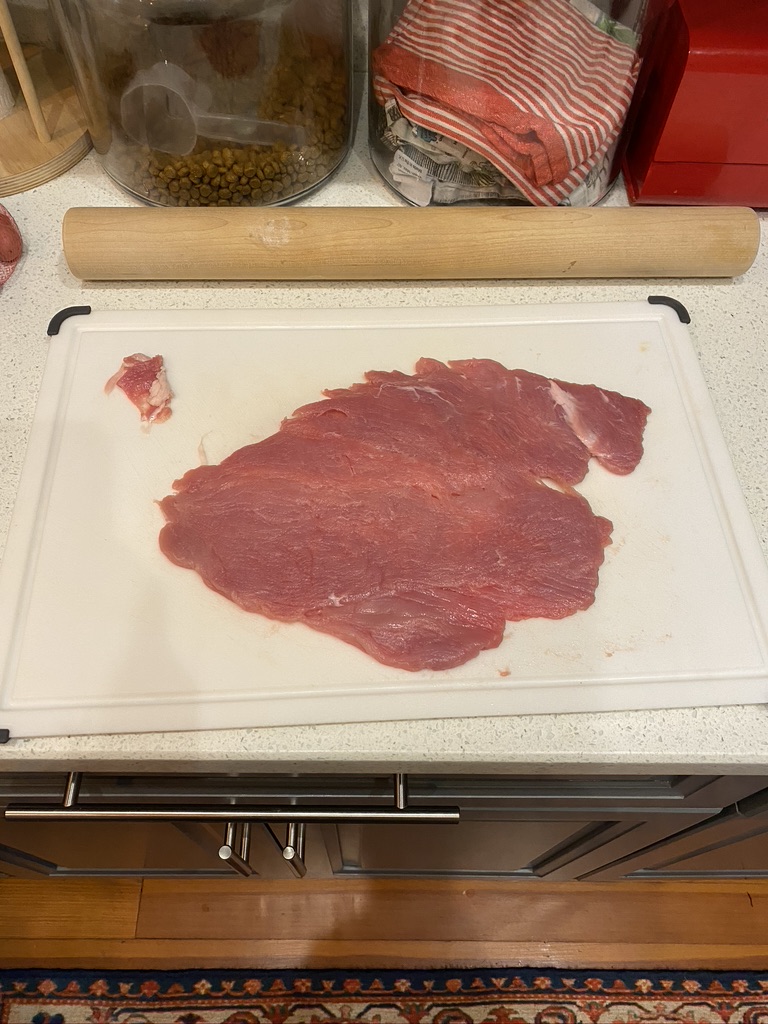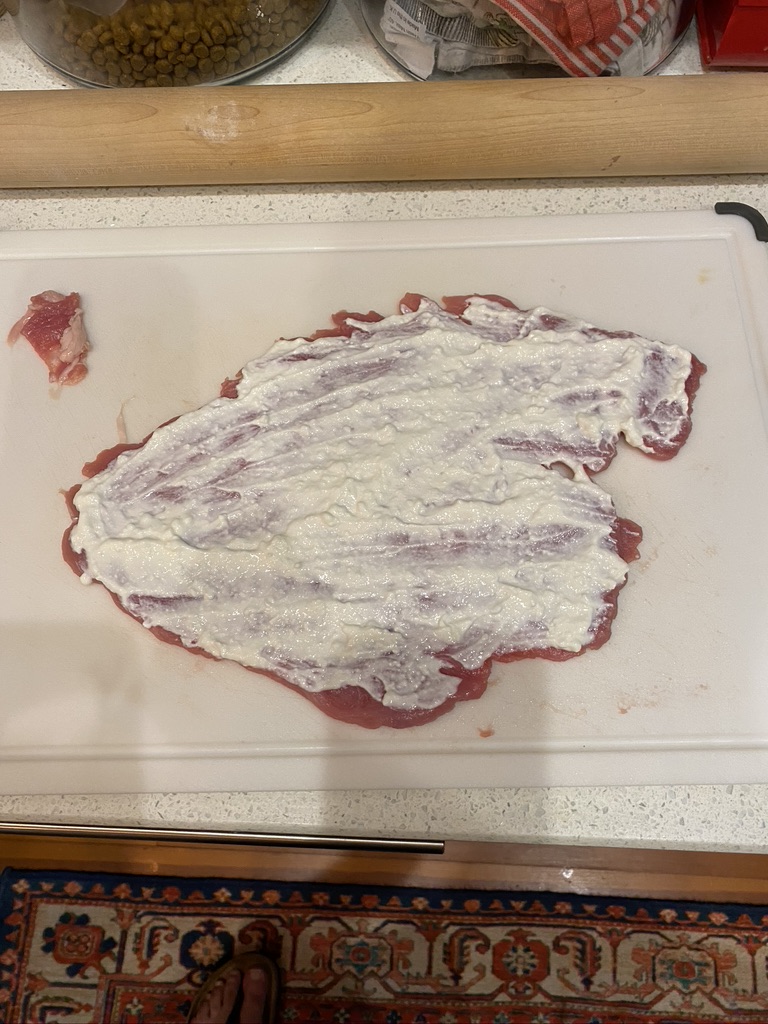
So, in the interest of living life I've decided to do things. My last fitness? post centered around the new class of drugs and the results I've seen. I was kinda shocked with the response from the community. Many thanks to all of y'all for gentleness and grace which brings me around to the second edition of On Doing Good, Not Great.
A good friend lives in Vegas and last spring we went out for 5 days to get lost in the desert, gamble, see some art, and catch up with old friends. We had a great time doing some of the more tourist stuff you can do in a tourist city. At one point I asked my man how he found living in Vegas. He just chuckled and said, "I love it, there is always something happening in town that I'm not going to go to". I hadn't summed up living in Nawlins* quite like that but it hit home. We got back form Vegas and we decided to do some more things that were out of our comfort range.
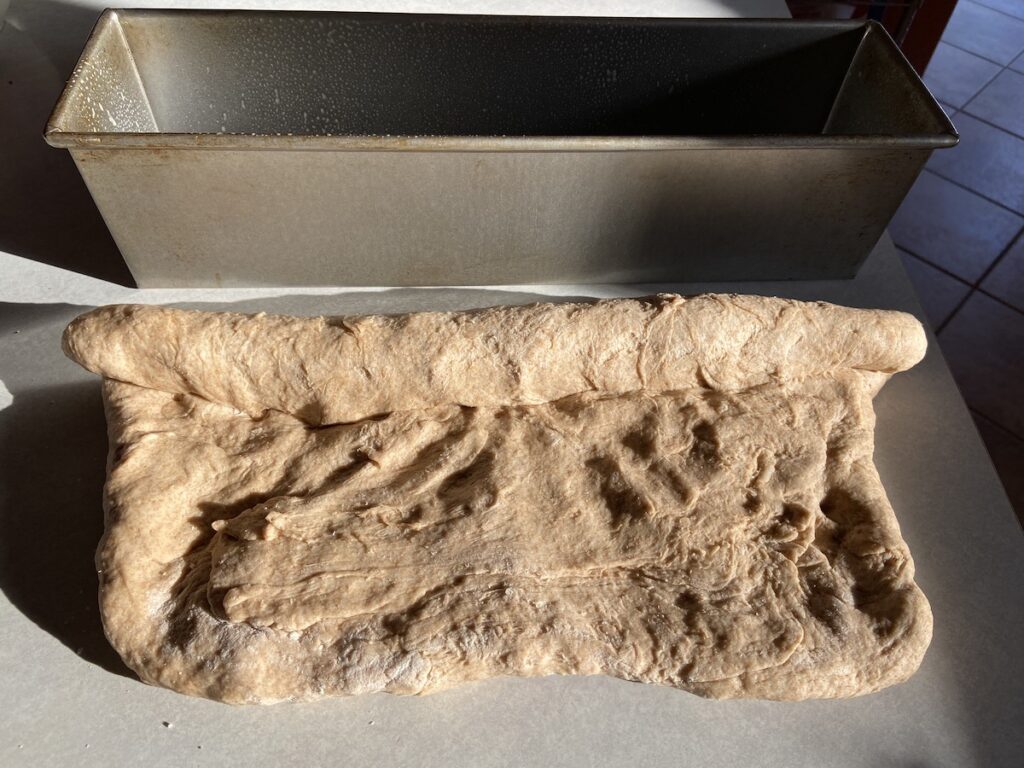
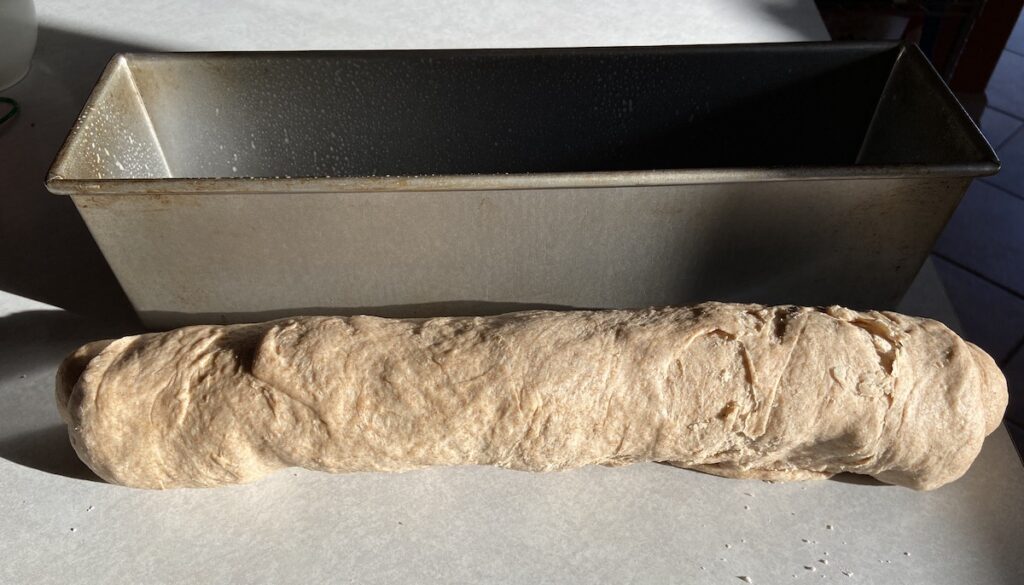
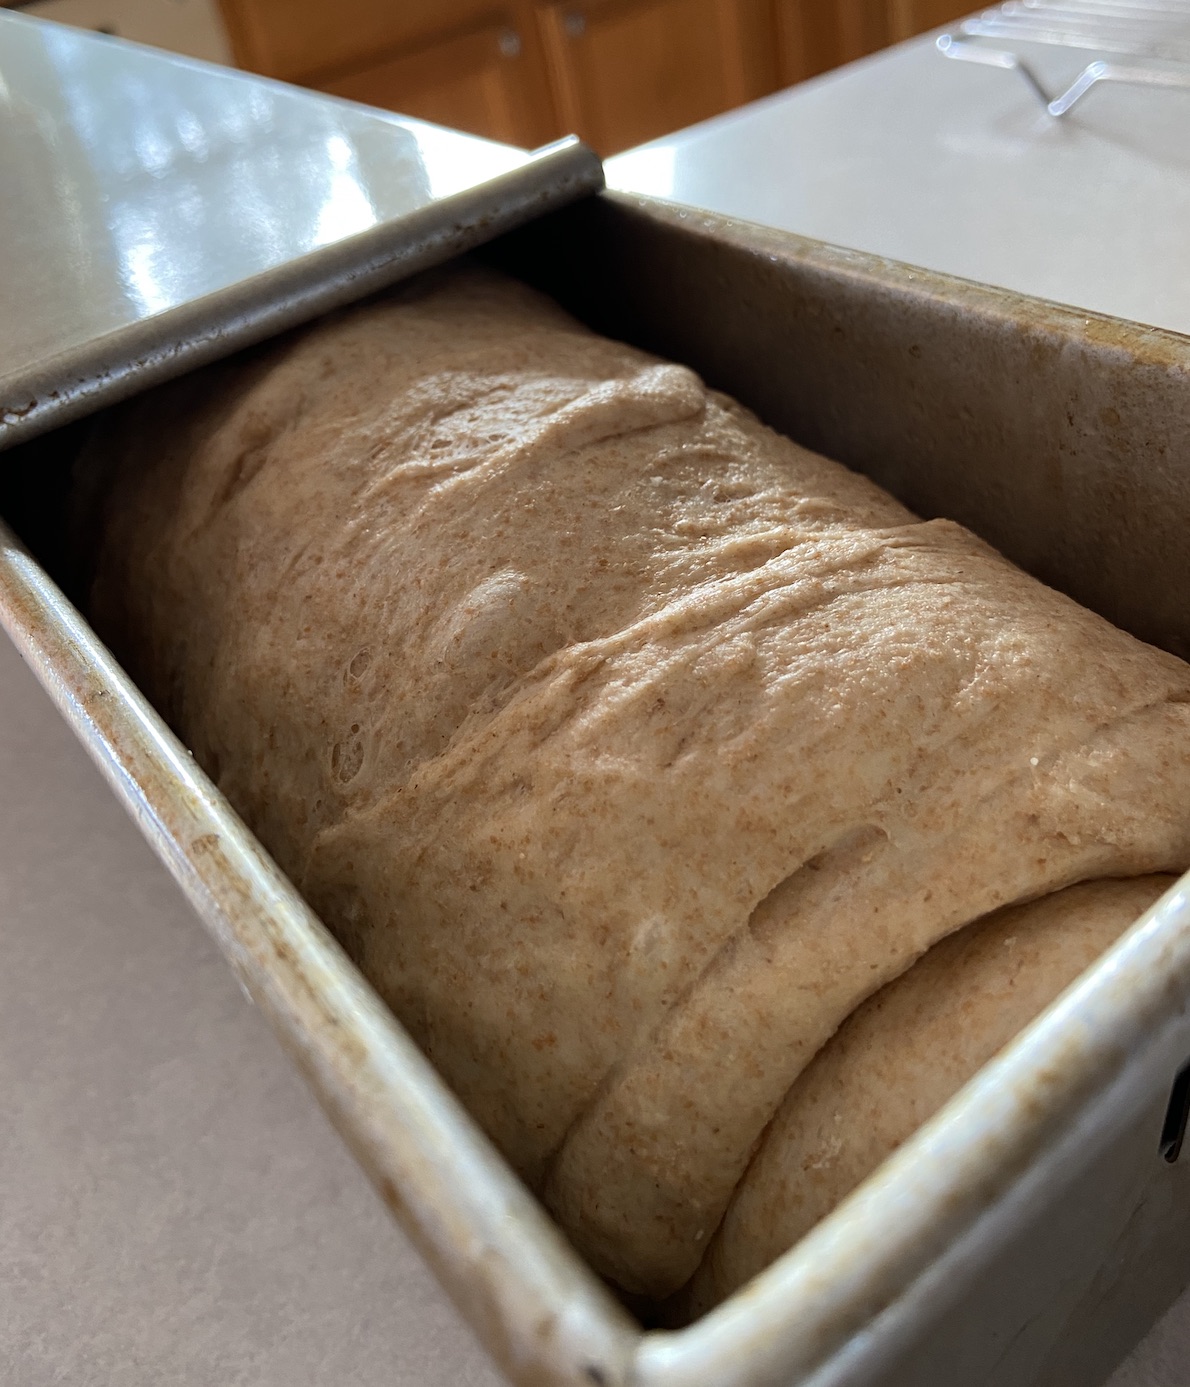
I decided that I don't want to work for the current set of clowns I work for and signed up for the first of 4 semesters of Chemistry. Whoa Nelly. I'm taking names and calculating moles but it's not without great effort. Thermodynamics isn't really my friend but we're on speaking terms. (in truth, math is my main hurdle - I can hack the algebra but any calculus results in much swearing) I'm currently sitting on a 99% for lecture and a 96.75% for lab (GD post lab questions due at midnight when lab ends at 10 pm .... I'm a tired old man....GOML) I'm pleasantly surprised with. my ability to learn new things again - funny sometime I stopped applying myself and .... welp .... here I am.
I went to 2 concerts in 2 weeks - nutty for me now, but I once went to at least a show a month. In my youth I went every weekend to see a punk band lay waste to my future hearing. (BTW, Kurt Vile is in pretty great form right now....)
Today I went way outside my comfort zone and joined an Aikido Dojo and got my ass handed to me. I'm not sure how long I'll practice but the initial course is 6 weeks. I'm going to see it out even though I'm pretty sore (in a great way, minus the hard roll I took on my left knee). Dr. Chop asked me to describe my first experience with Aikido and I think full contact yoga sums it up nicely.
For a long stretch, not helped by the pandemic but definitely there before covid, I felt like life was happening at me. Taking the drug has reduced my mass by nearly 21%. No joking, that's EEEFFFFFFing bananas (though, to be fair to me, I still don't see it...). I would never have thought of practicing a martial art before the jab.
I have no idea where any of this goes. Maybe I get through the chemistry and I lack the will or desire to go further. Maybe I won't be able to walk tomorrow because I'm old and frail. But I do know that I've reconnected to doing things and that feels pretty great.
Anywho, I hope y'all are finding joy in these uncertain times.
*no one says this